A few years ago my sister-in-law made me some uber-cute oven door dish towels for Christmas. After daily use they were starting to yellow and show their age, so my mom and I set out to re-create them. 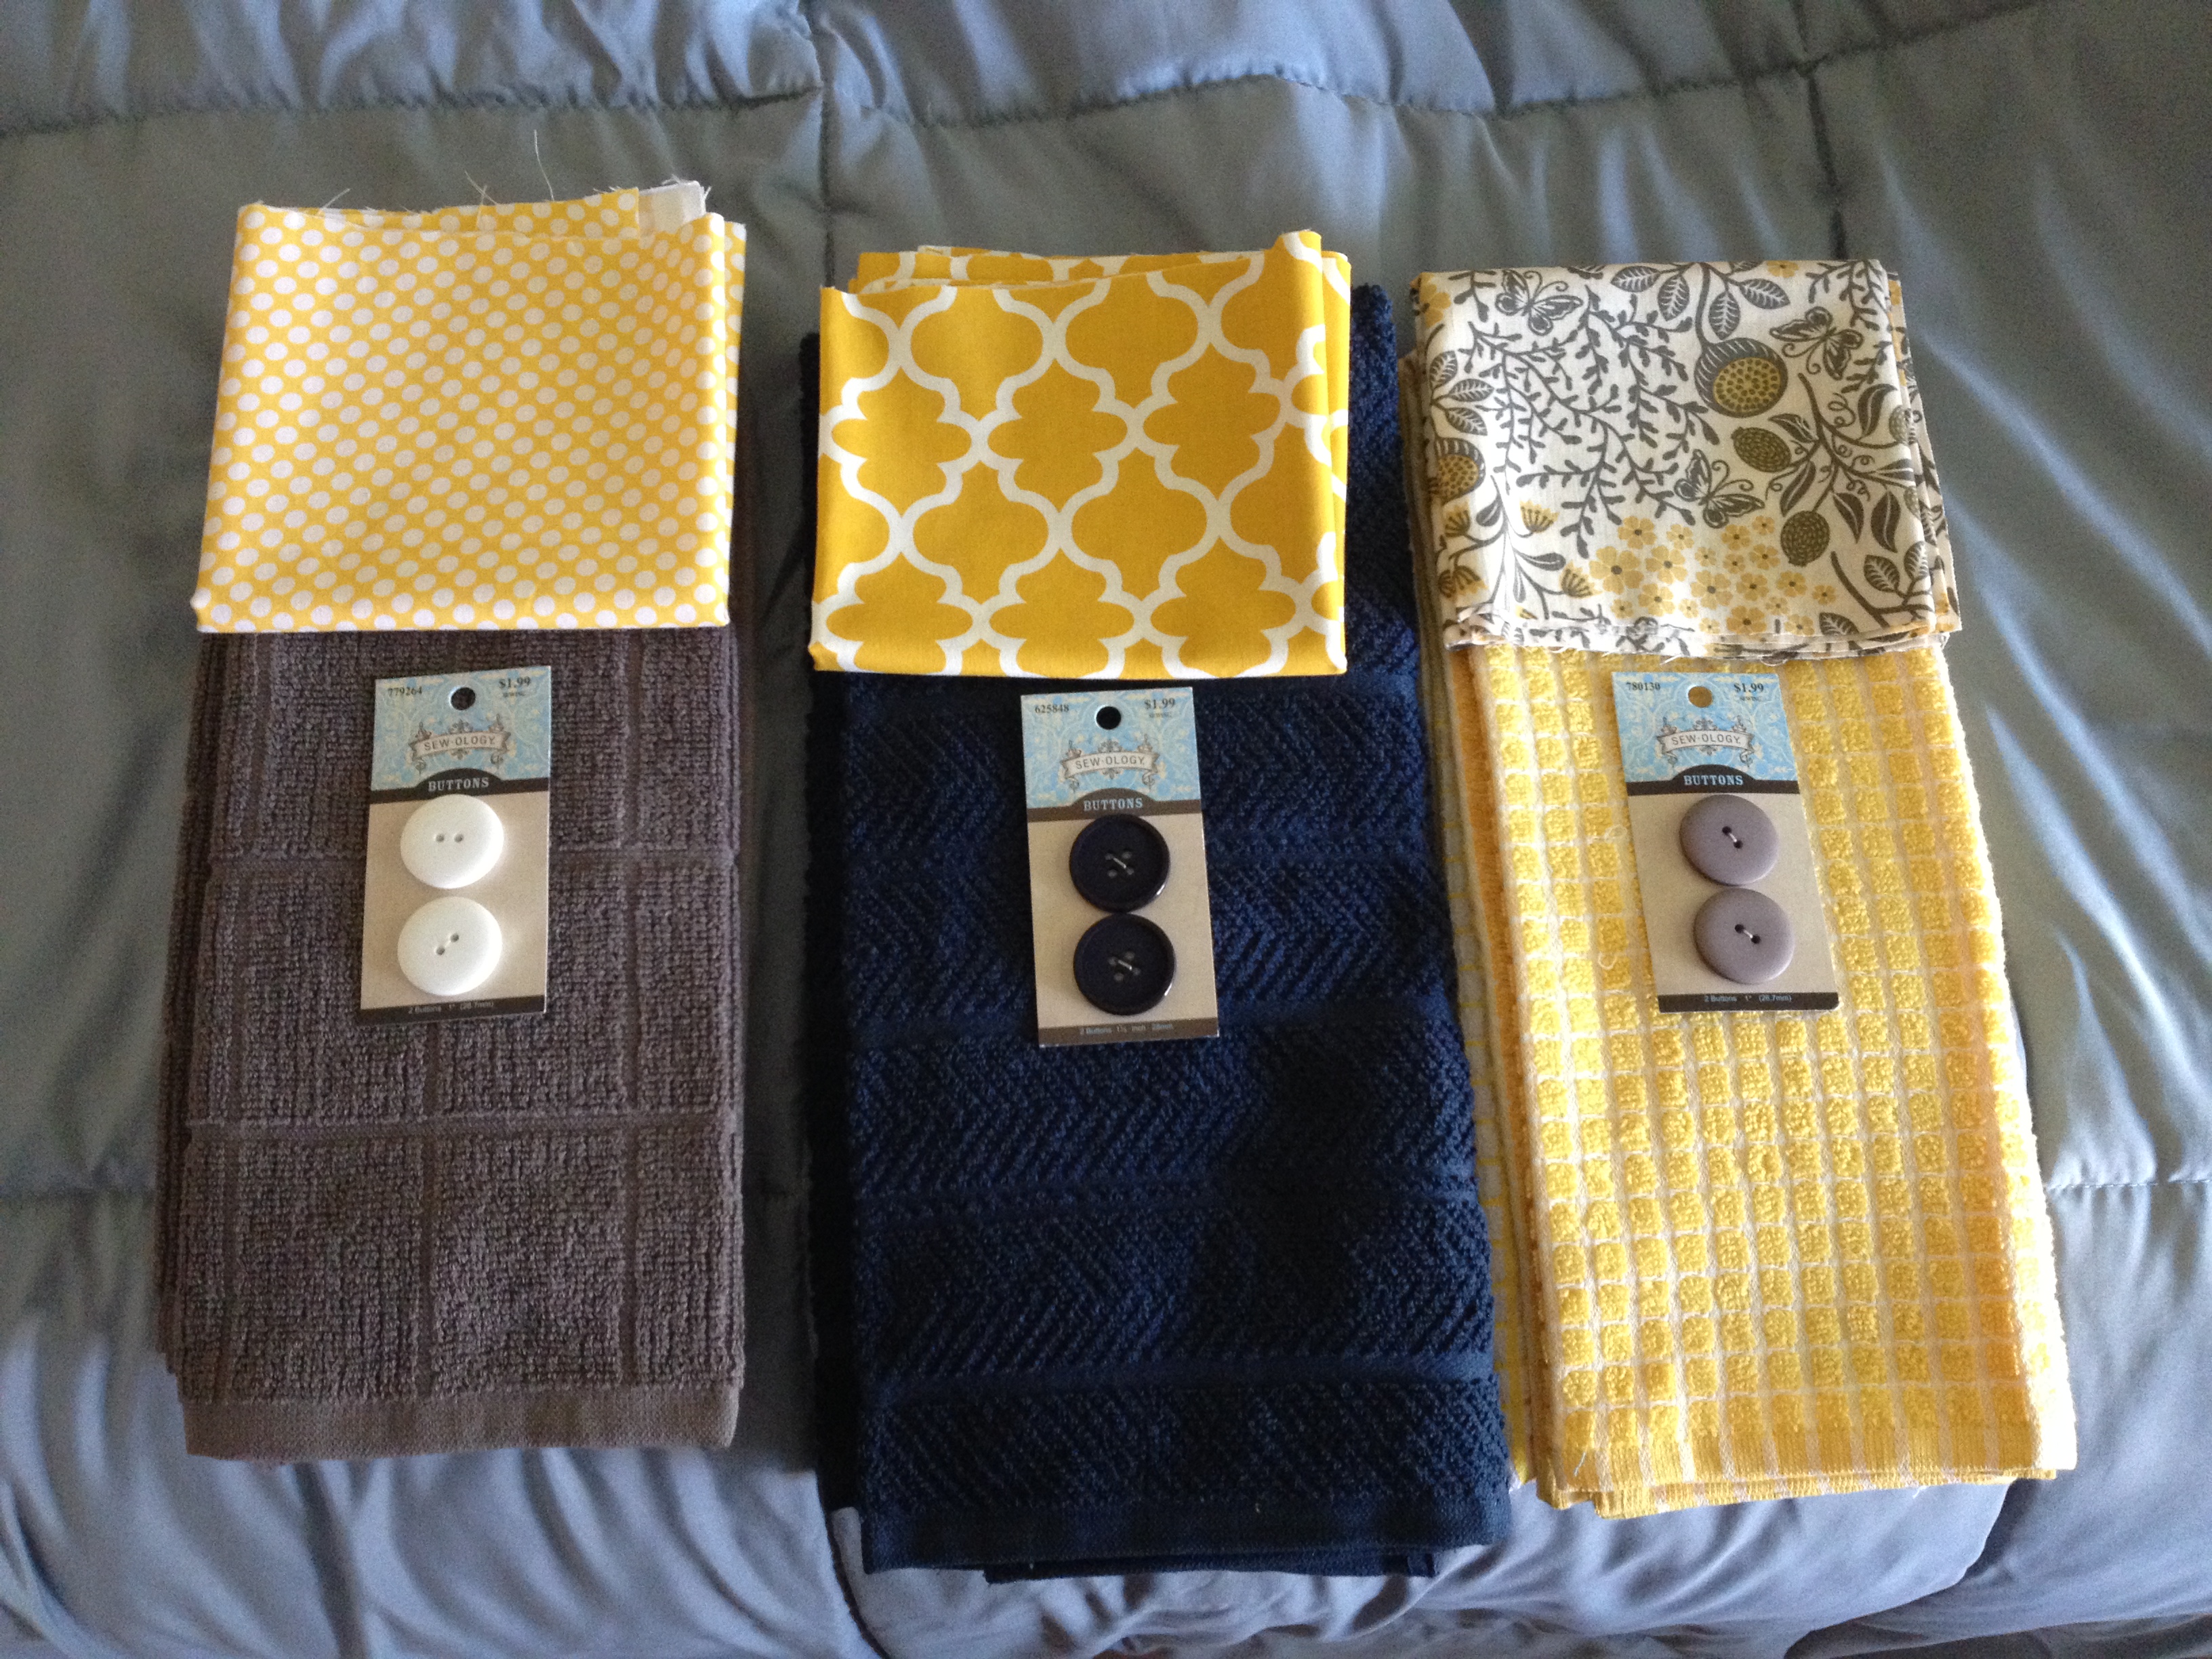 Note: My sister-in-law is still sweet and talented, however she just had twins so I was not about to add a sewing project to her ‘to do’ list. Here is a brief pictorial on our process. It should be understood that my mother provided all the sewing prowess, and I cut fabric, ironed, and hand-sewed to keep this project from being more difficult and frustrating than it needed to be. Clicking on each picture should open a link to the larger photo. I have posted this because during my online pattern research I found that I am NOT a fan of oven door towels that A) look like dresses B) are made with pot holders C) have crocheted tops. My apologies if that’s your thing. (Amanda, if you’re reading this, the first link with the apples is for you) 🙂 Some things to remember (which I forgot). 1 dishtowel makes 2 oven door towels since you cut each one in half. Each set takes 4 buttons (not two as pictured). I found that with a little planning a 1/2 yard of fabric nicely does one set and gives you a little room to spare. When choosing your towels consider their width. We found narrower towels to be more aesthetically pleasing because they didn’t seem overly wide/square/chunky. My mom worked around her wider towels by adding a couple pleats in the front to narrow them a bit, but I didn’t like the look as much.
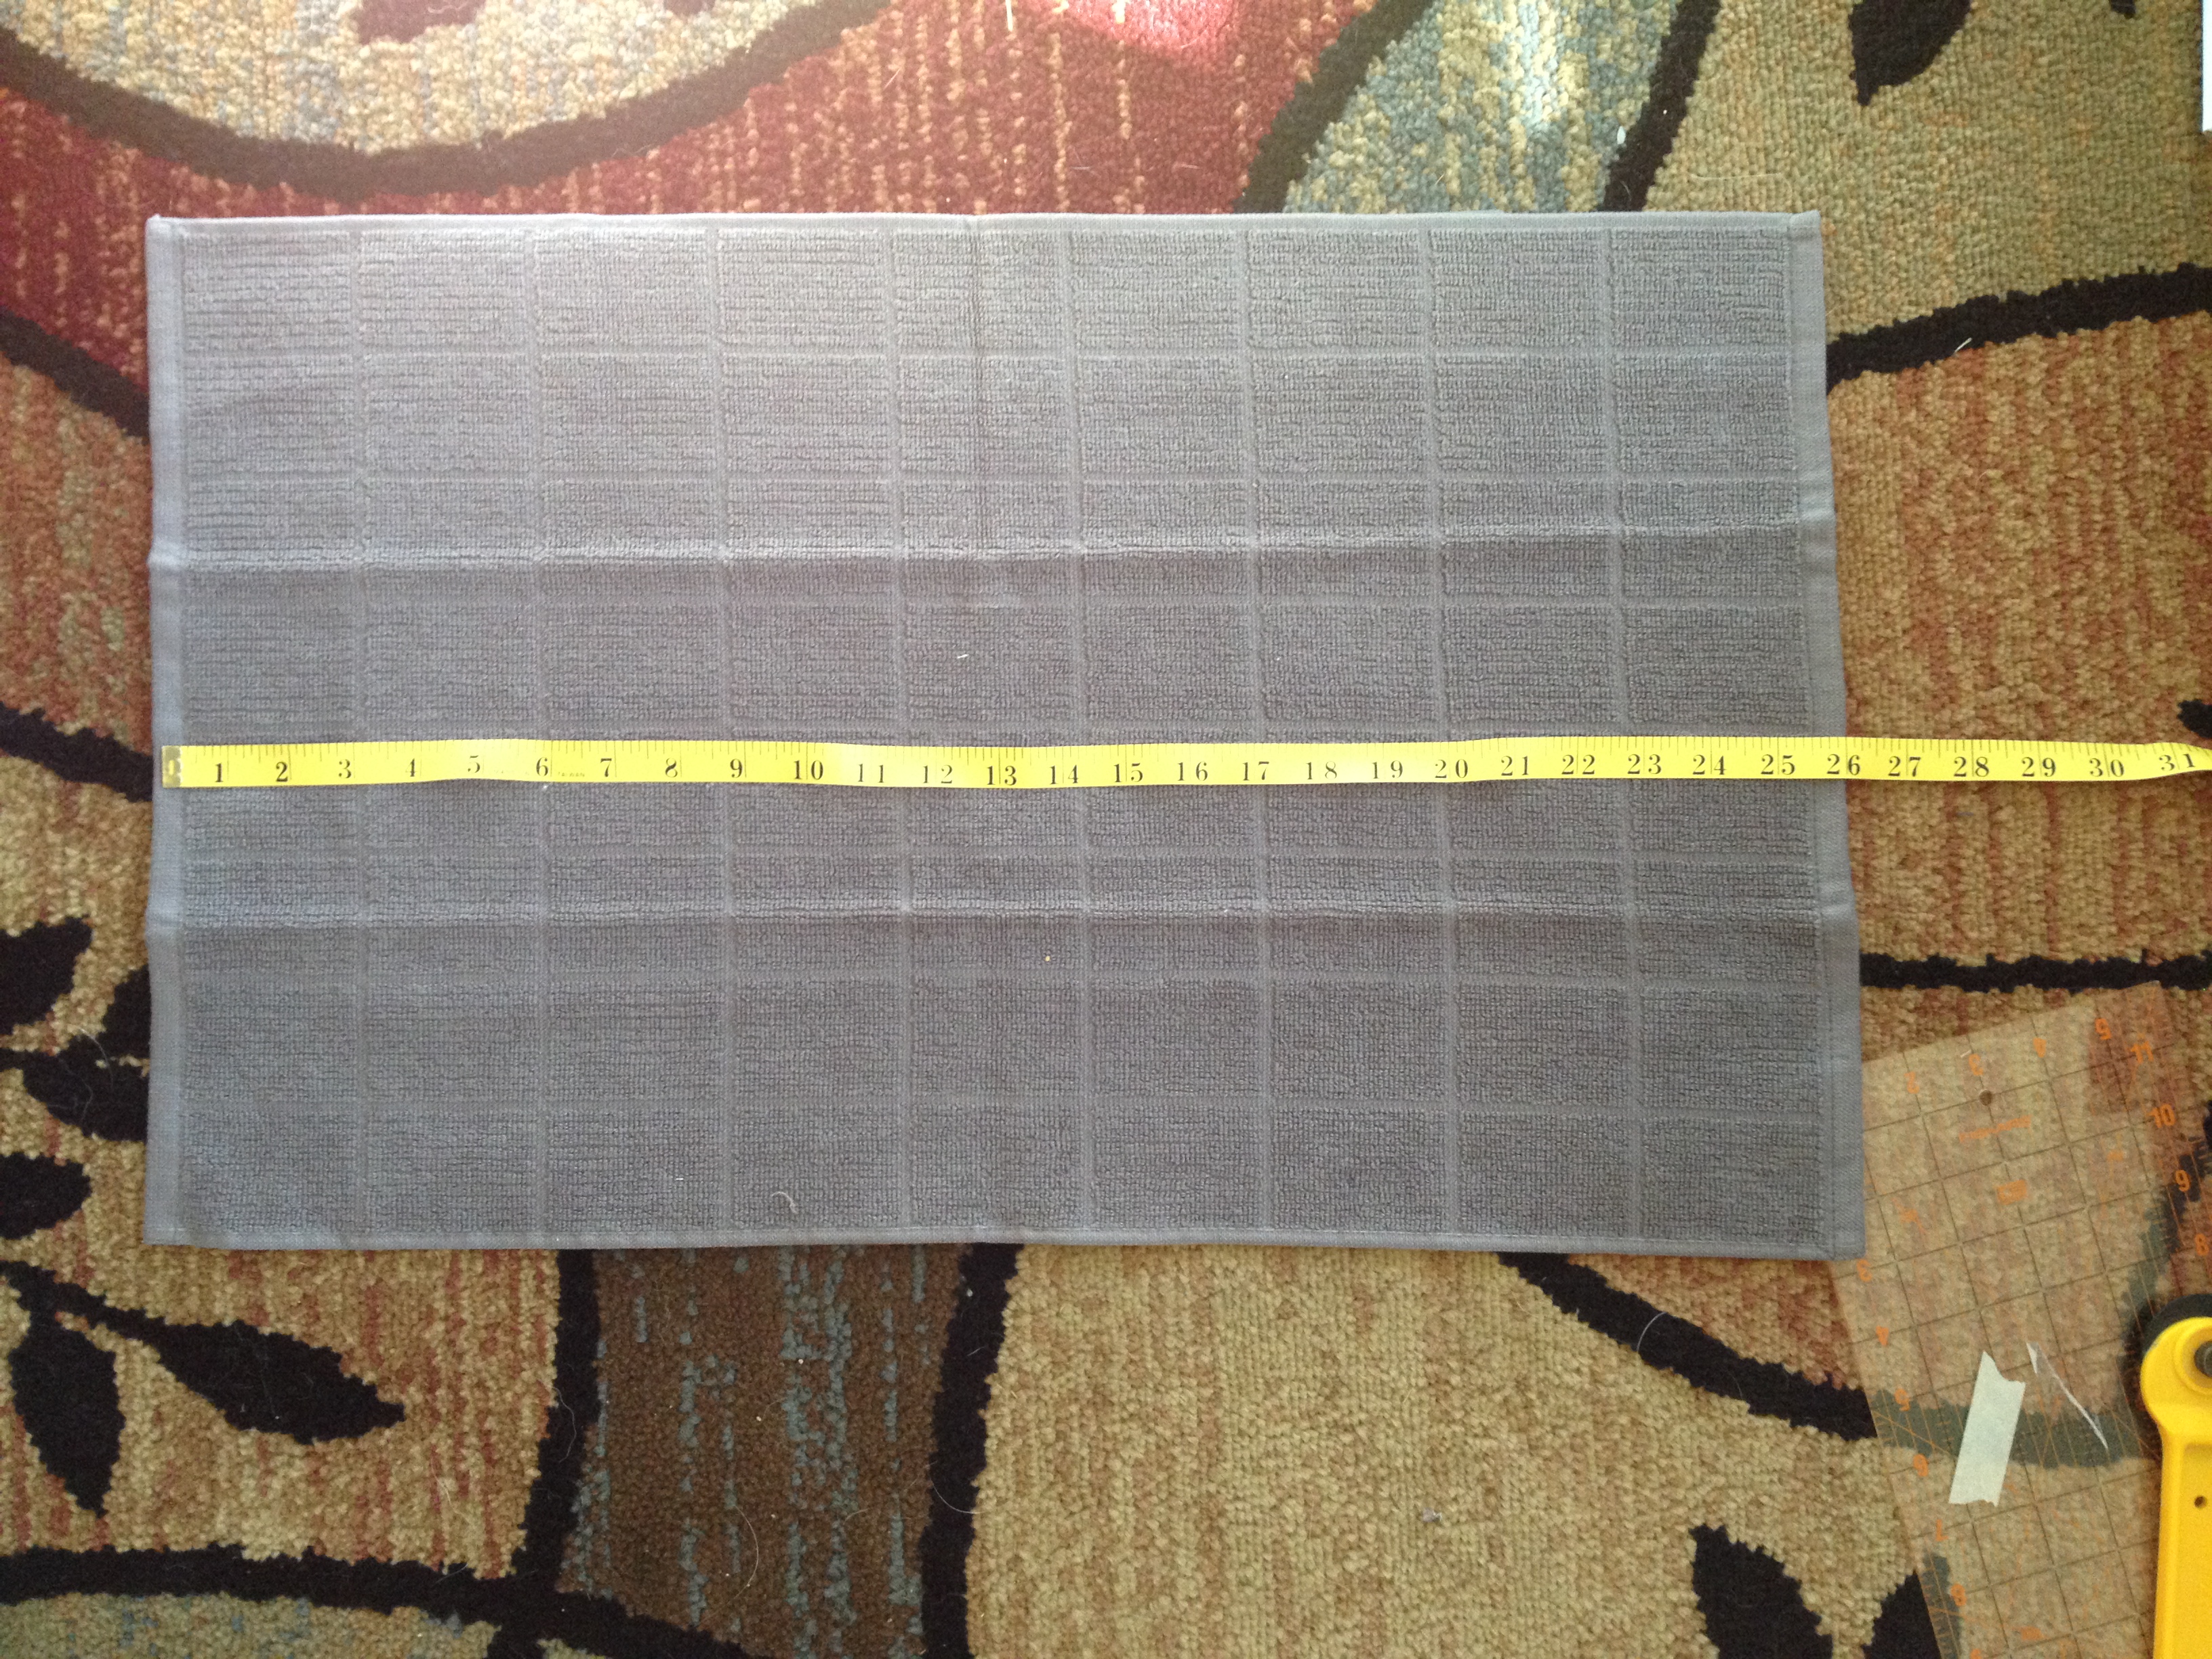
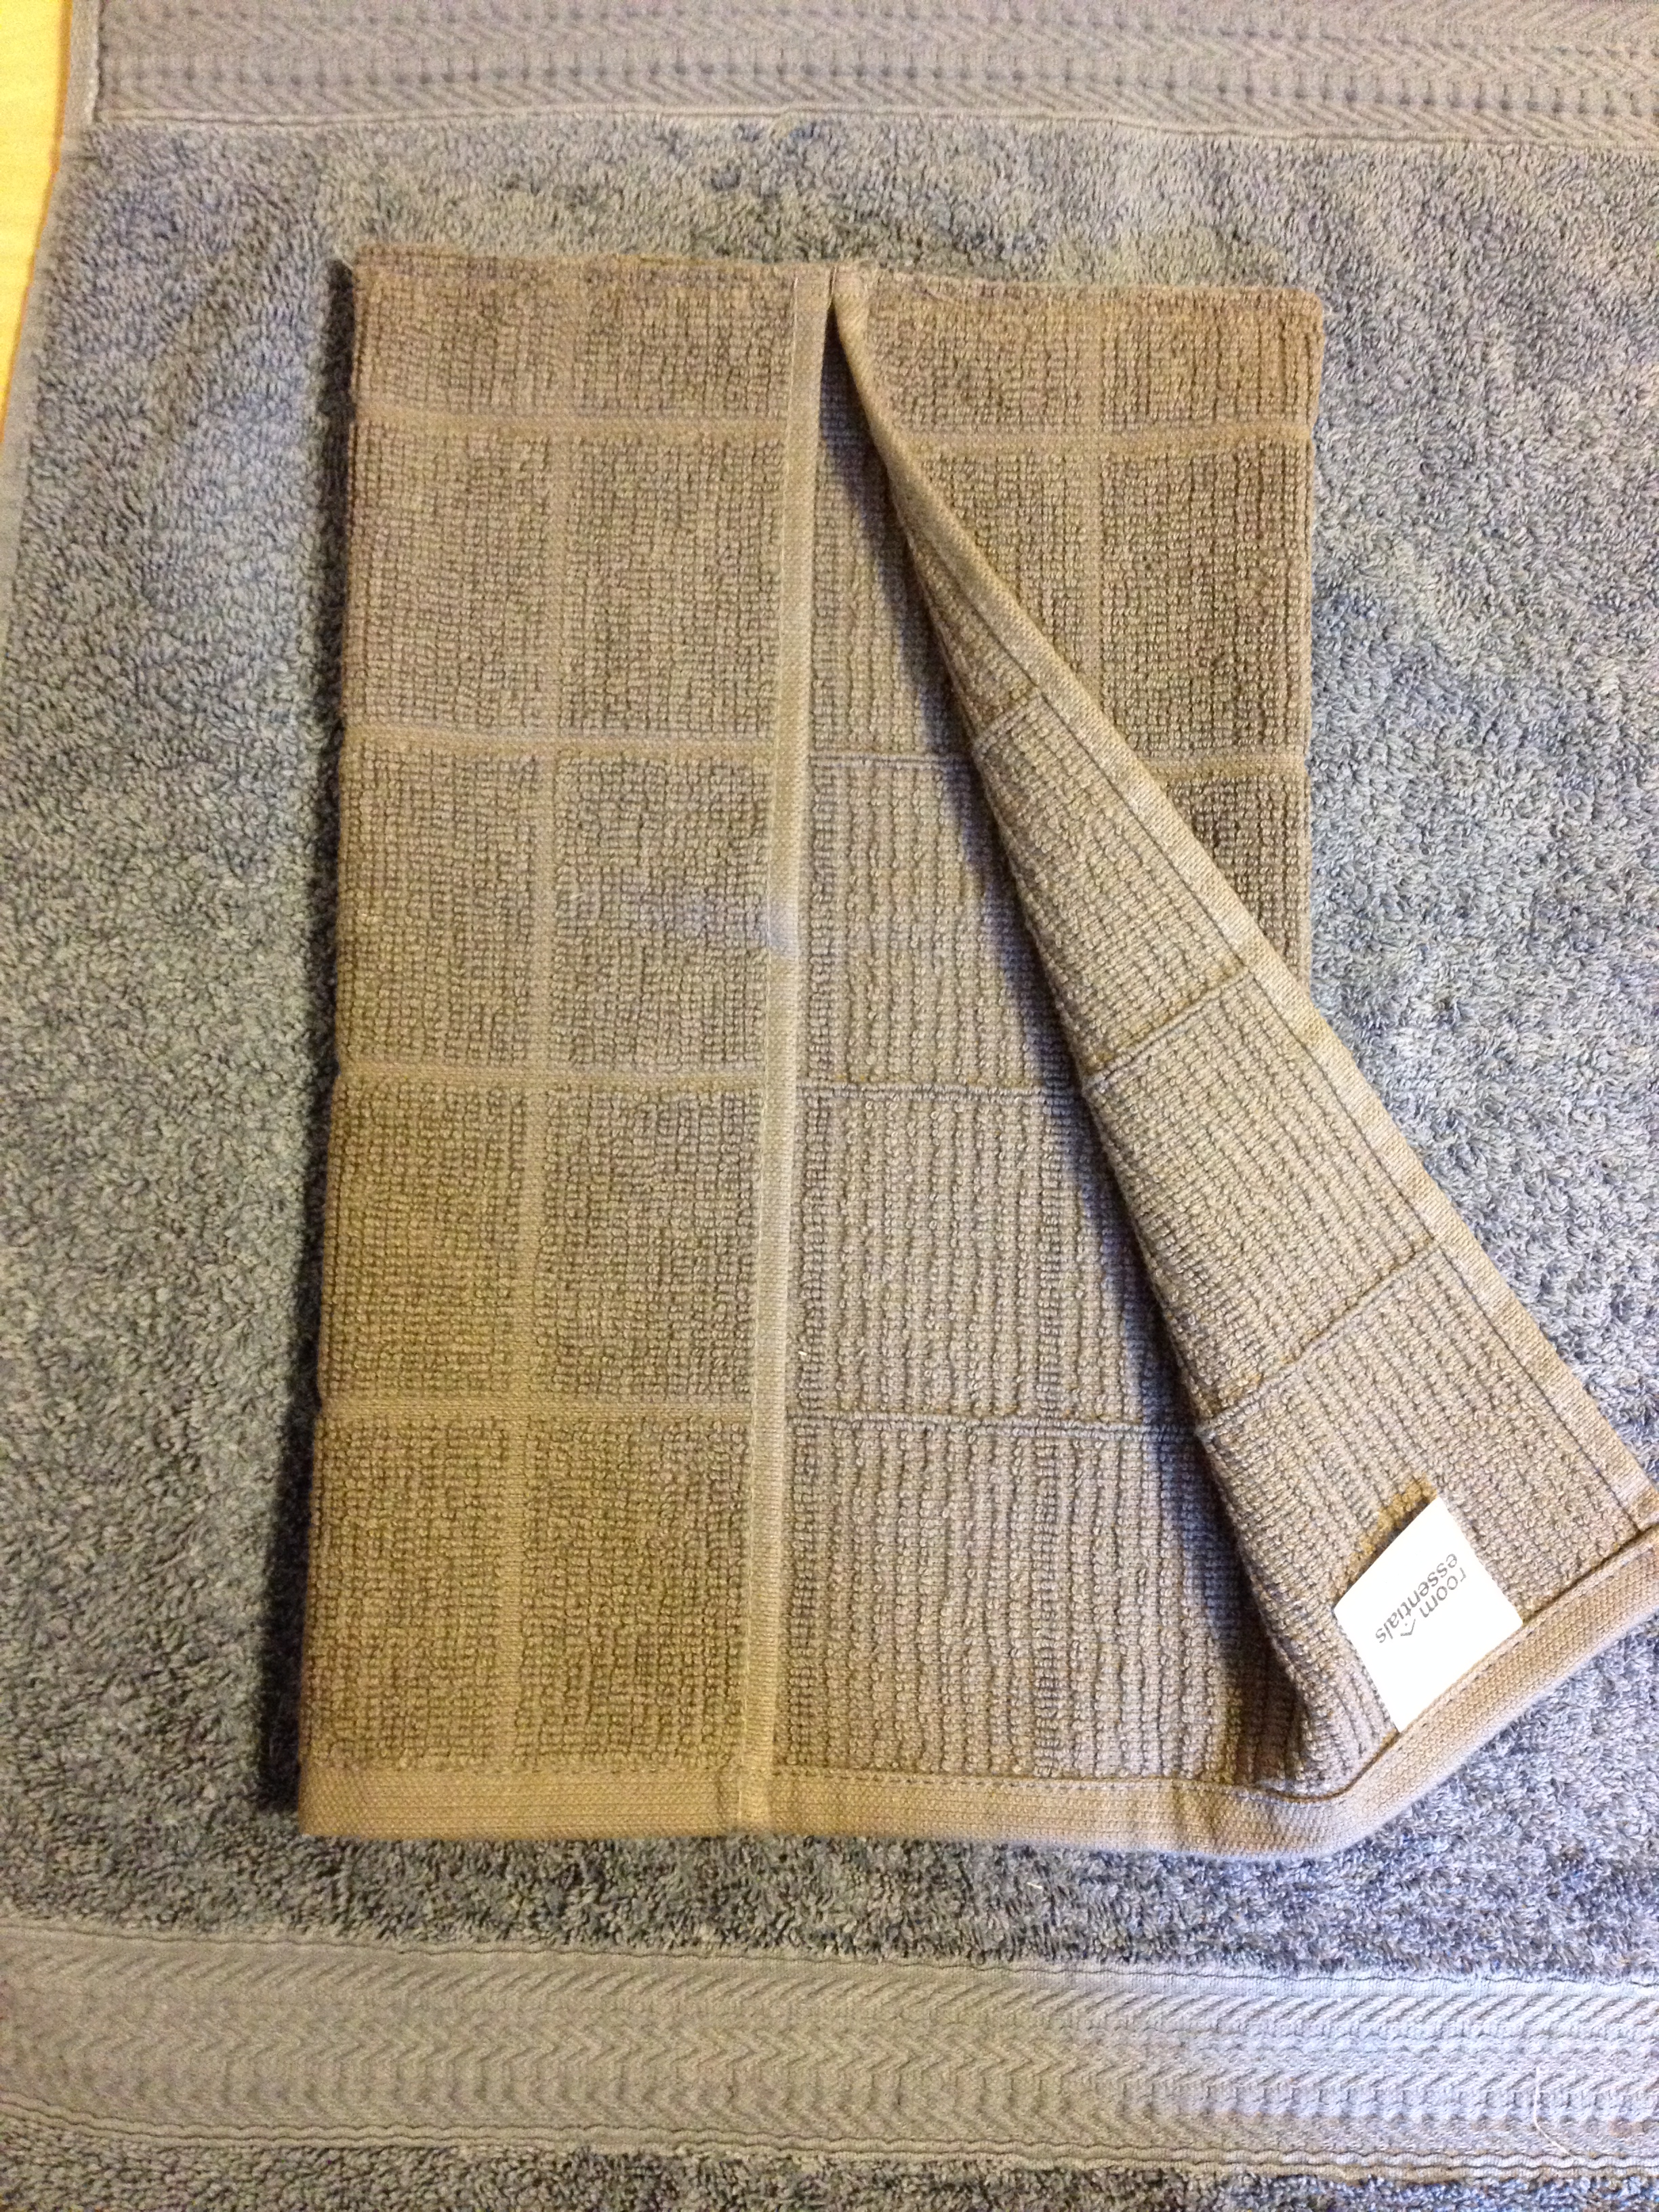
Step 1: Cut Towels in Half Measure your towel lengthwise and cut in half (in this case for a 26″ towel I cut at 13″).
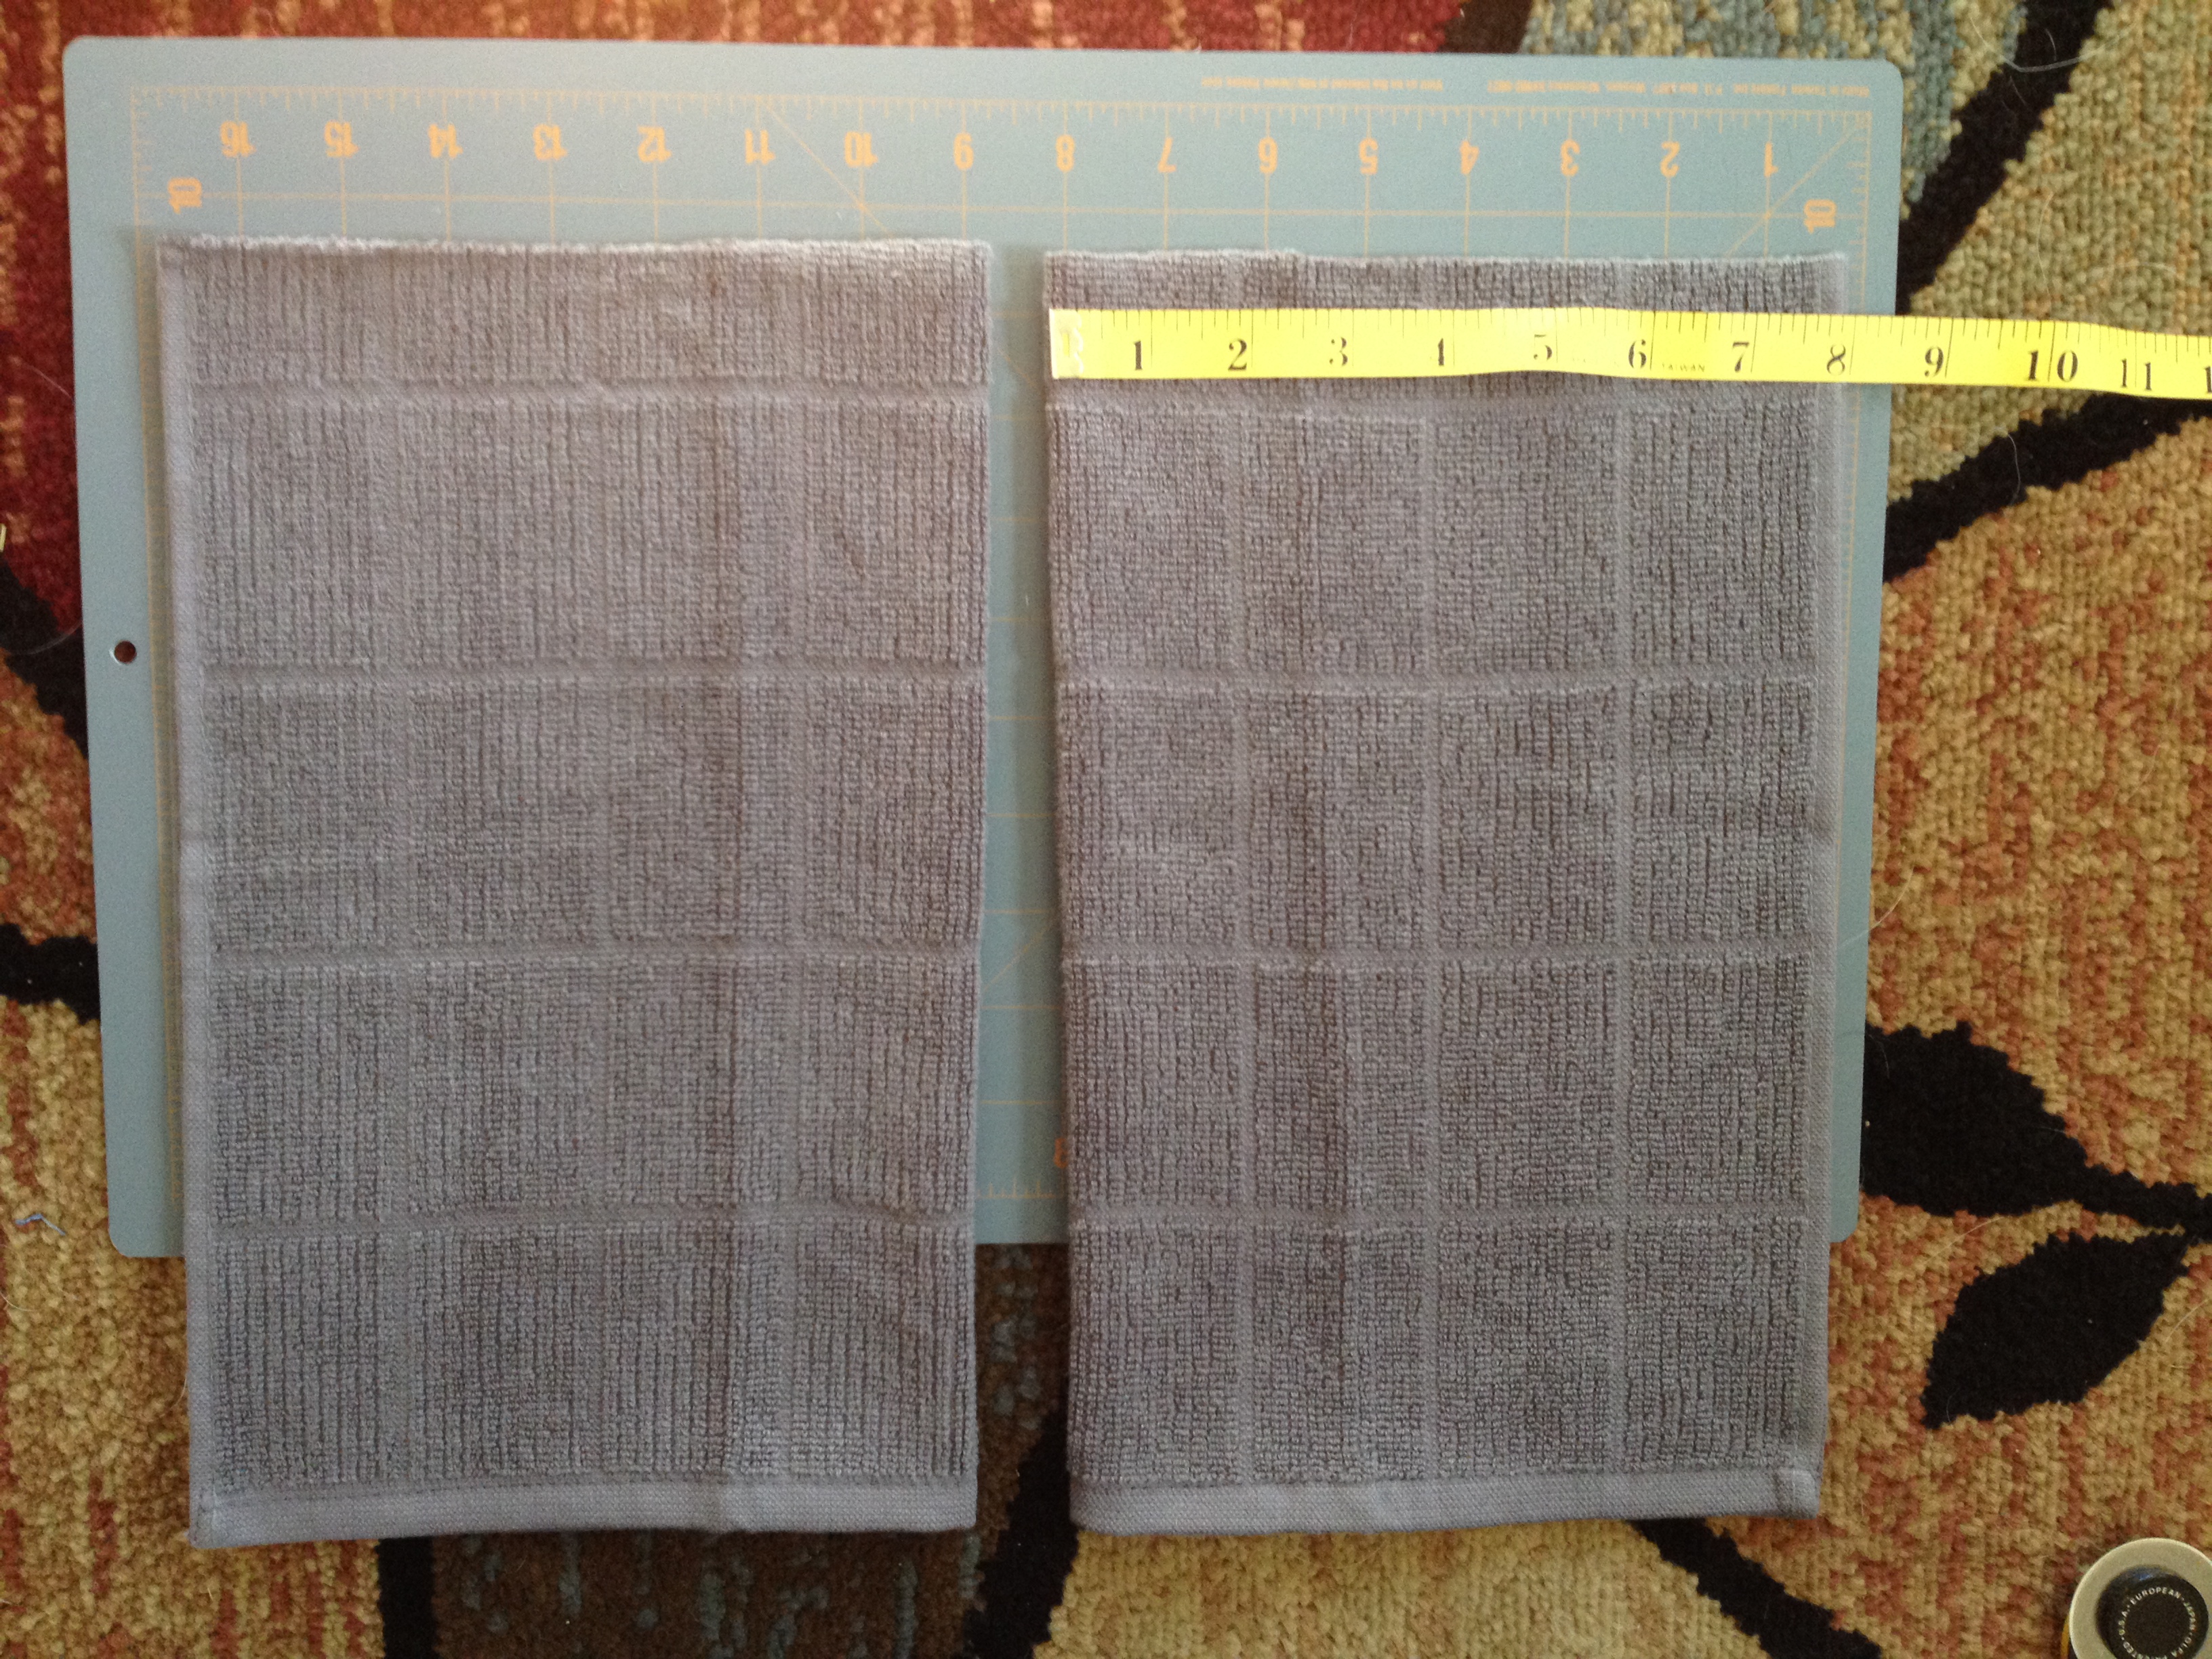
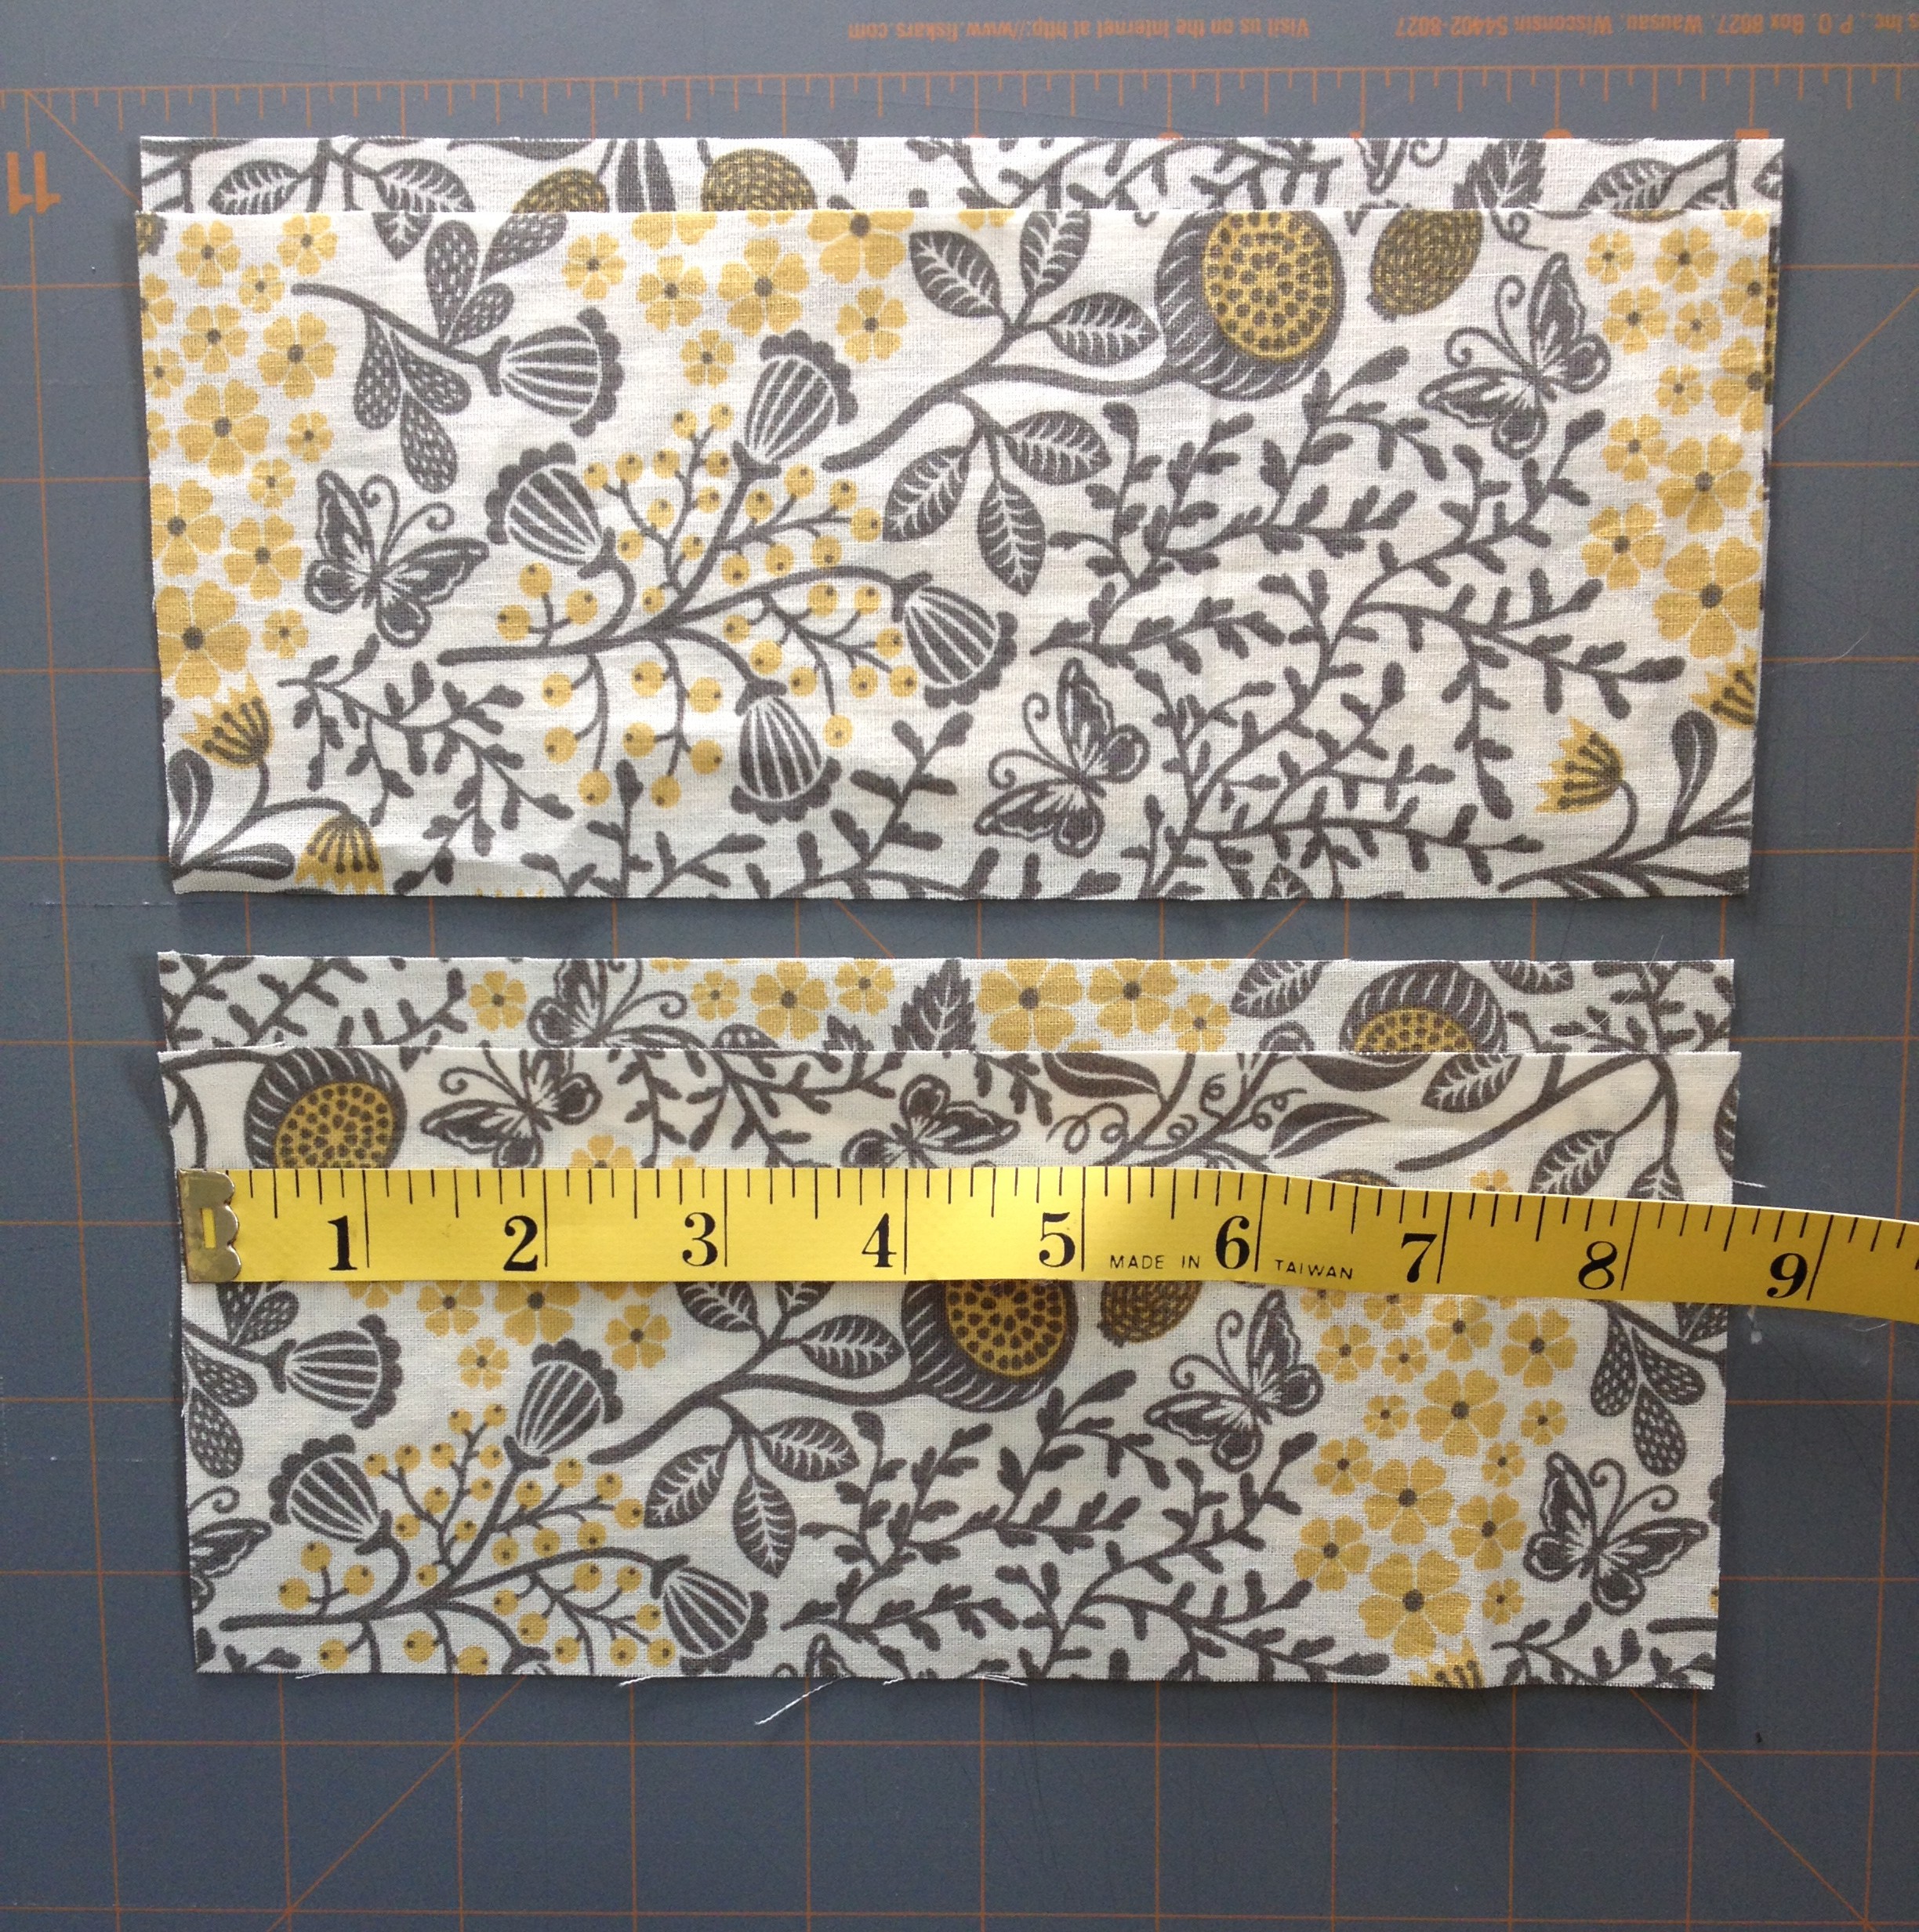
 Step 2: Cut Fabric for Tops Fold a section of towel in half and measure the top edge. When cutting your tops add 1/4″ on all sides accounting what you will lose in sewing. The top edge of my folded towel was 8″, so I cut 4 top pieces that were 8 1/2″x 3 1/2″ (a finished size of 8″x3″).
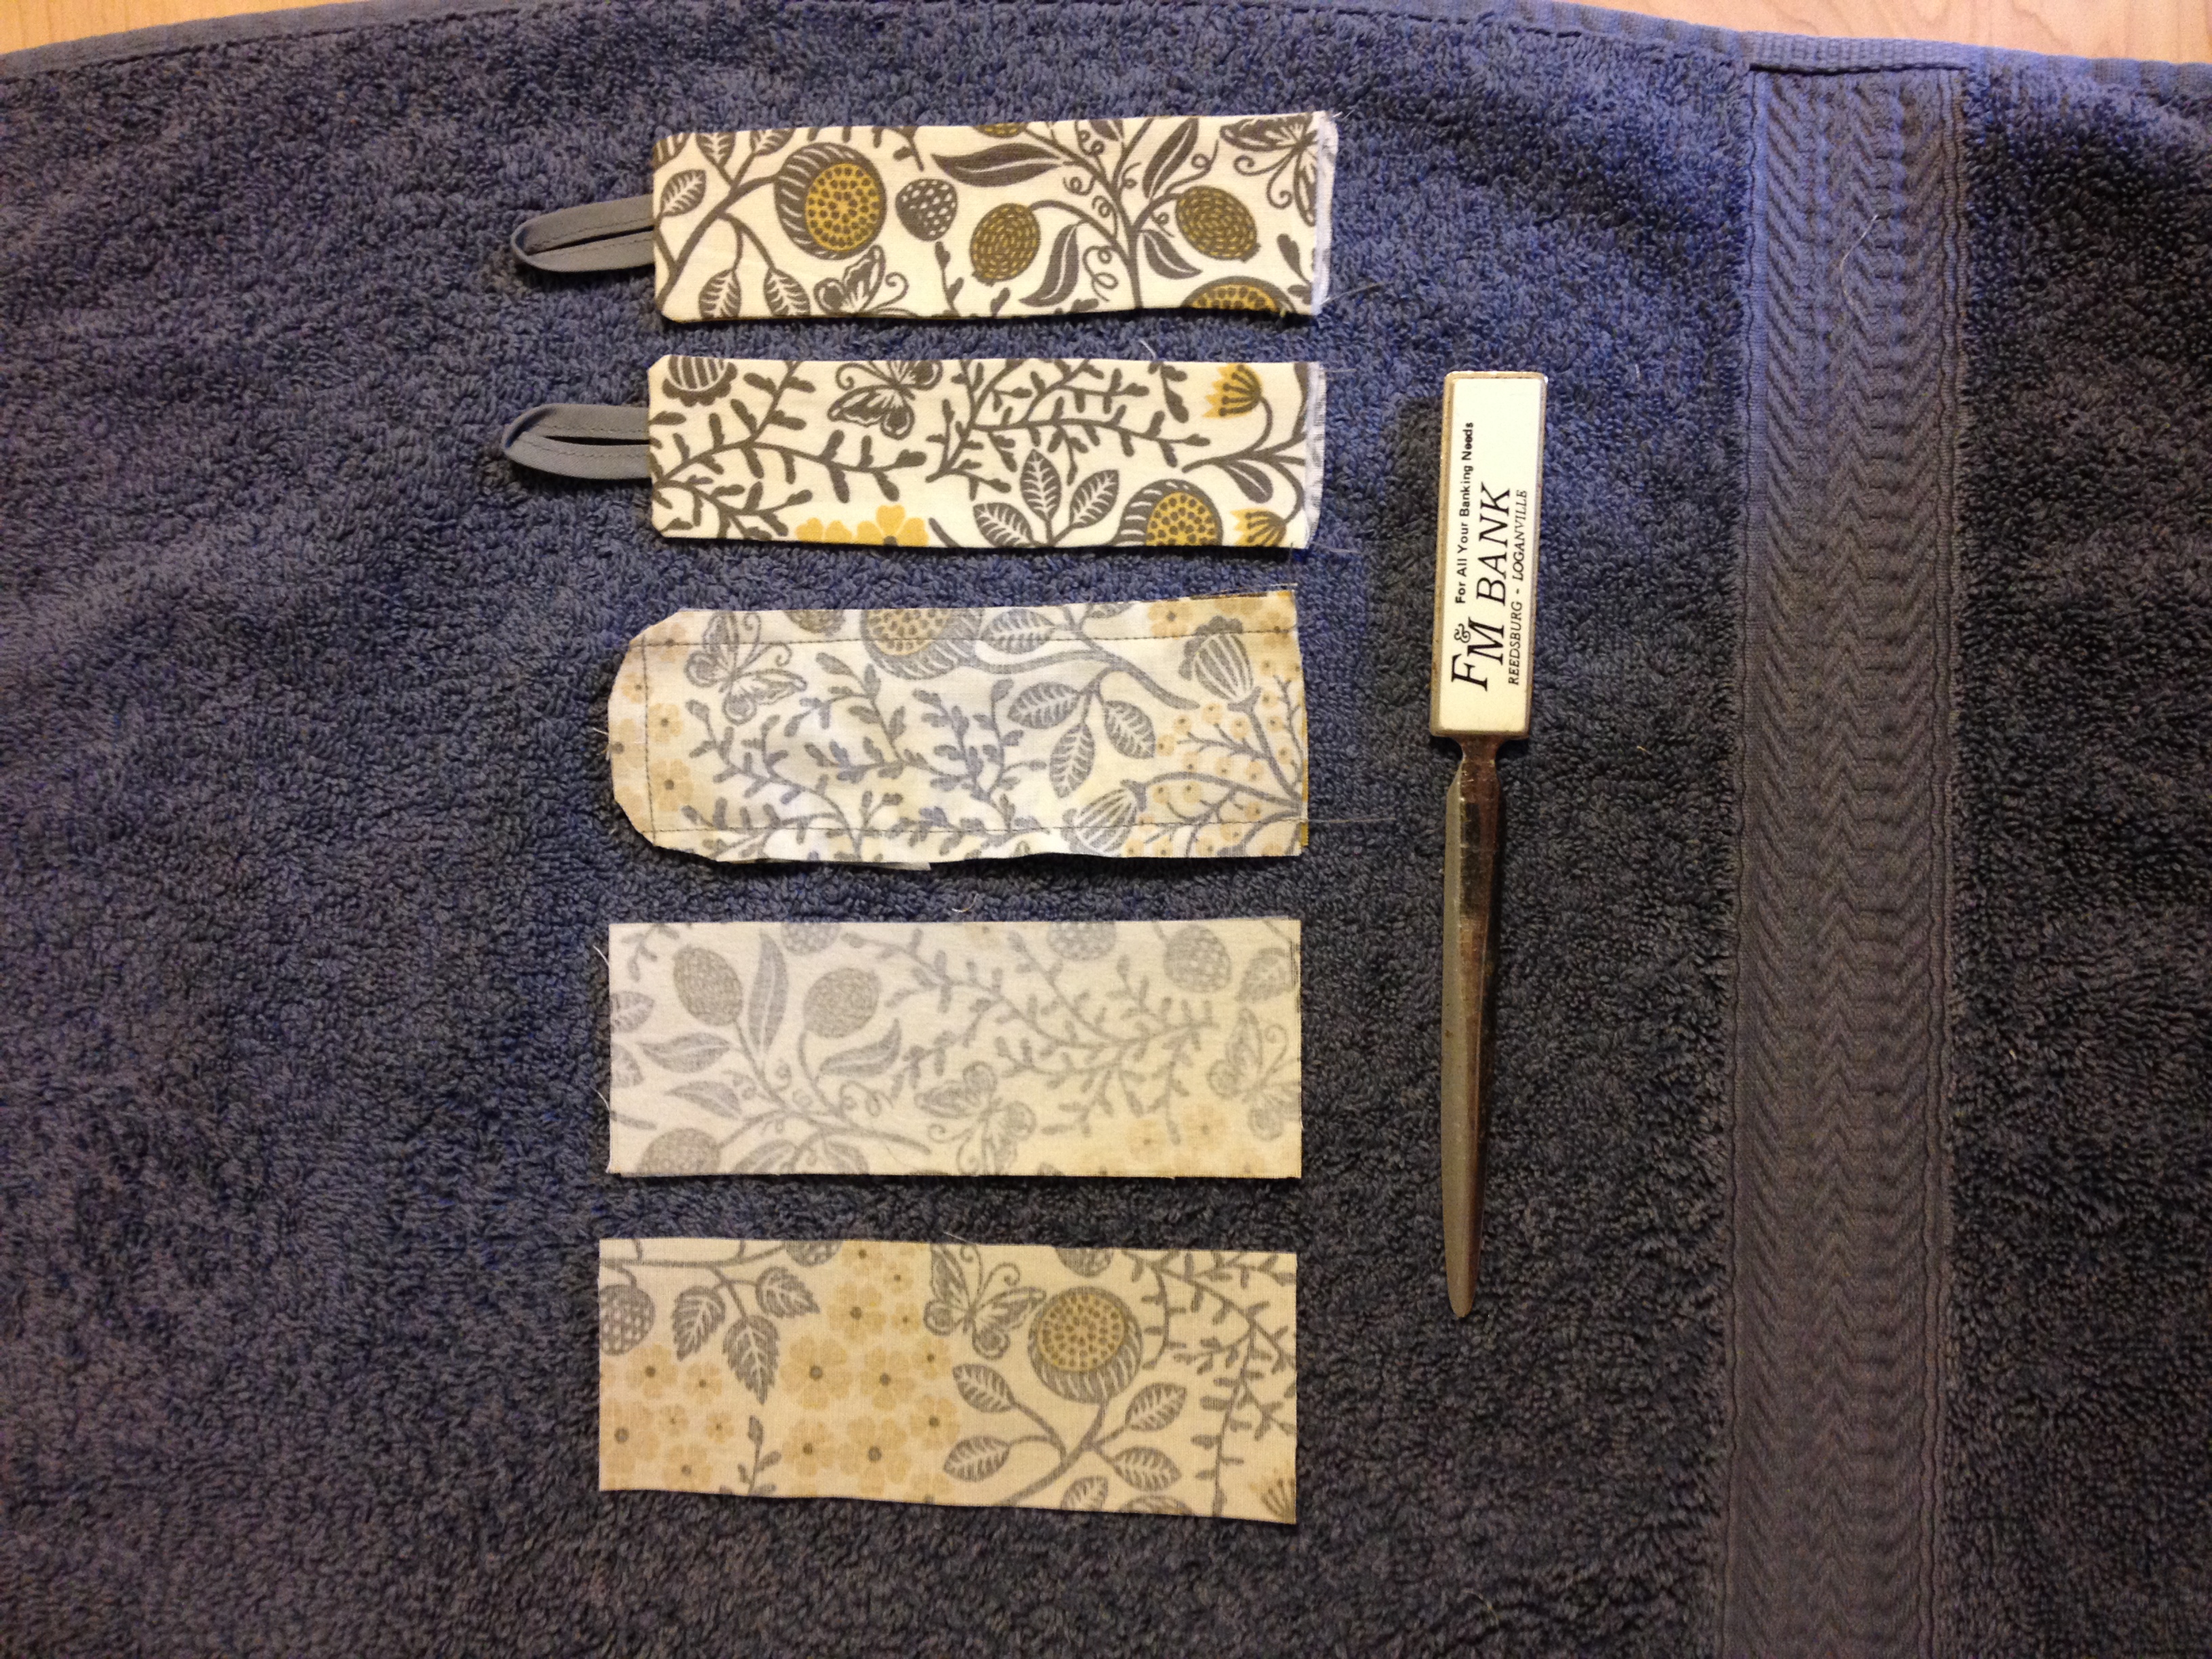
Step 3: Cut Fabric for Straps Cut 8 strap pieces each 2 1/2″x5 1/2″ (a finished size of 2″x5″). You can vary the sizes of the tops and straps if you desire a slightly different ratio of height to width.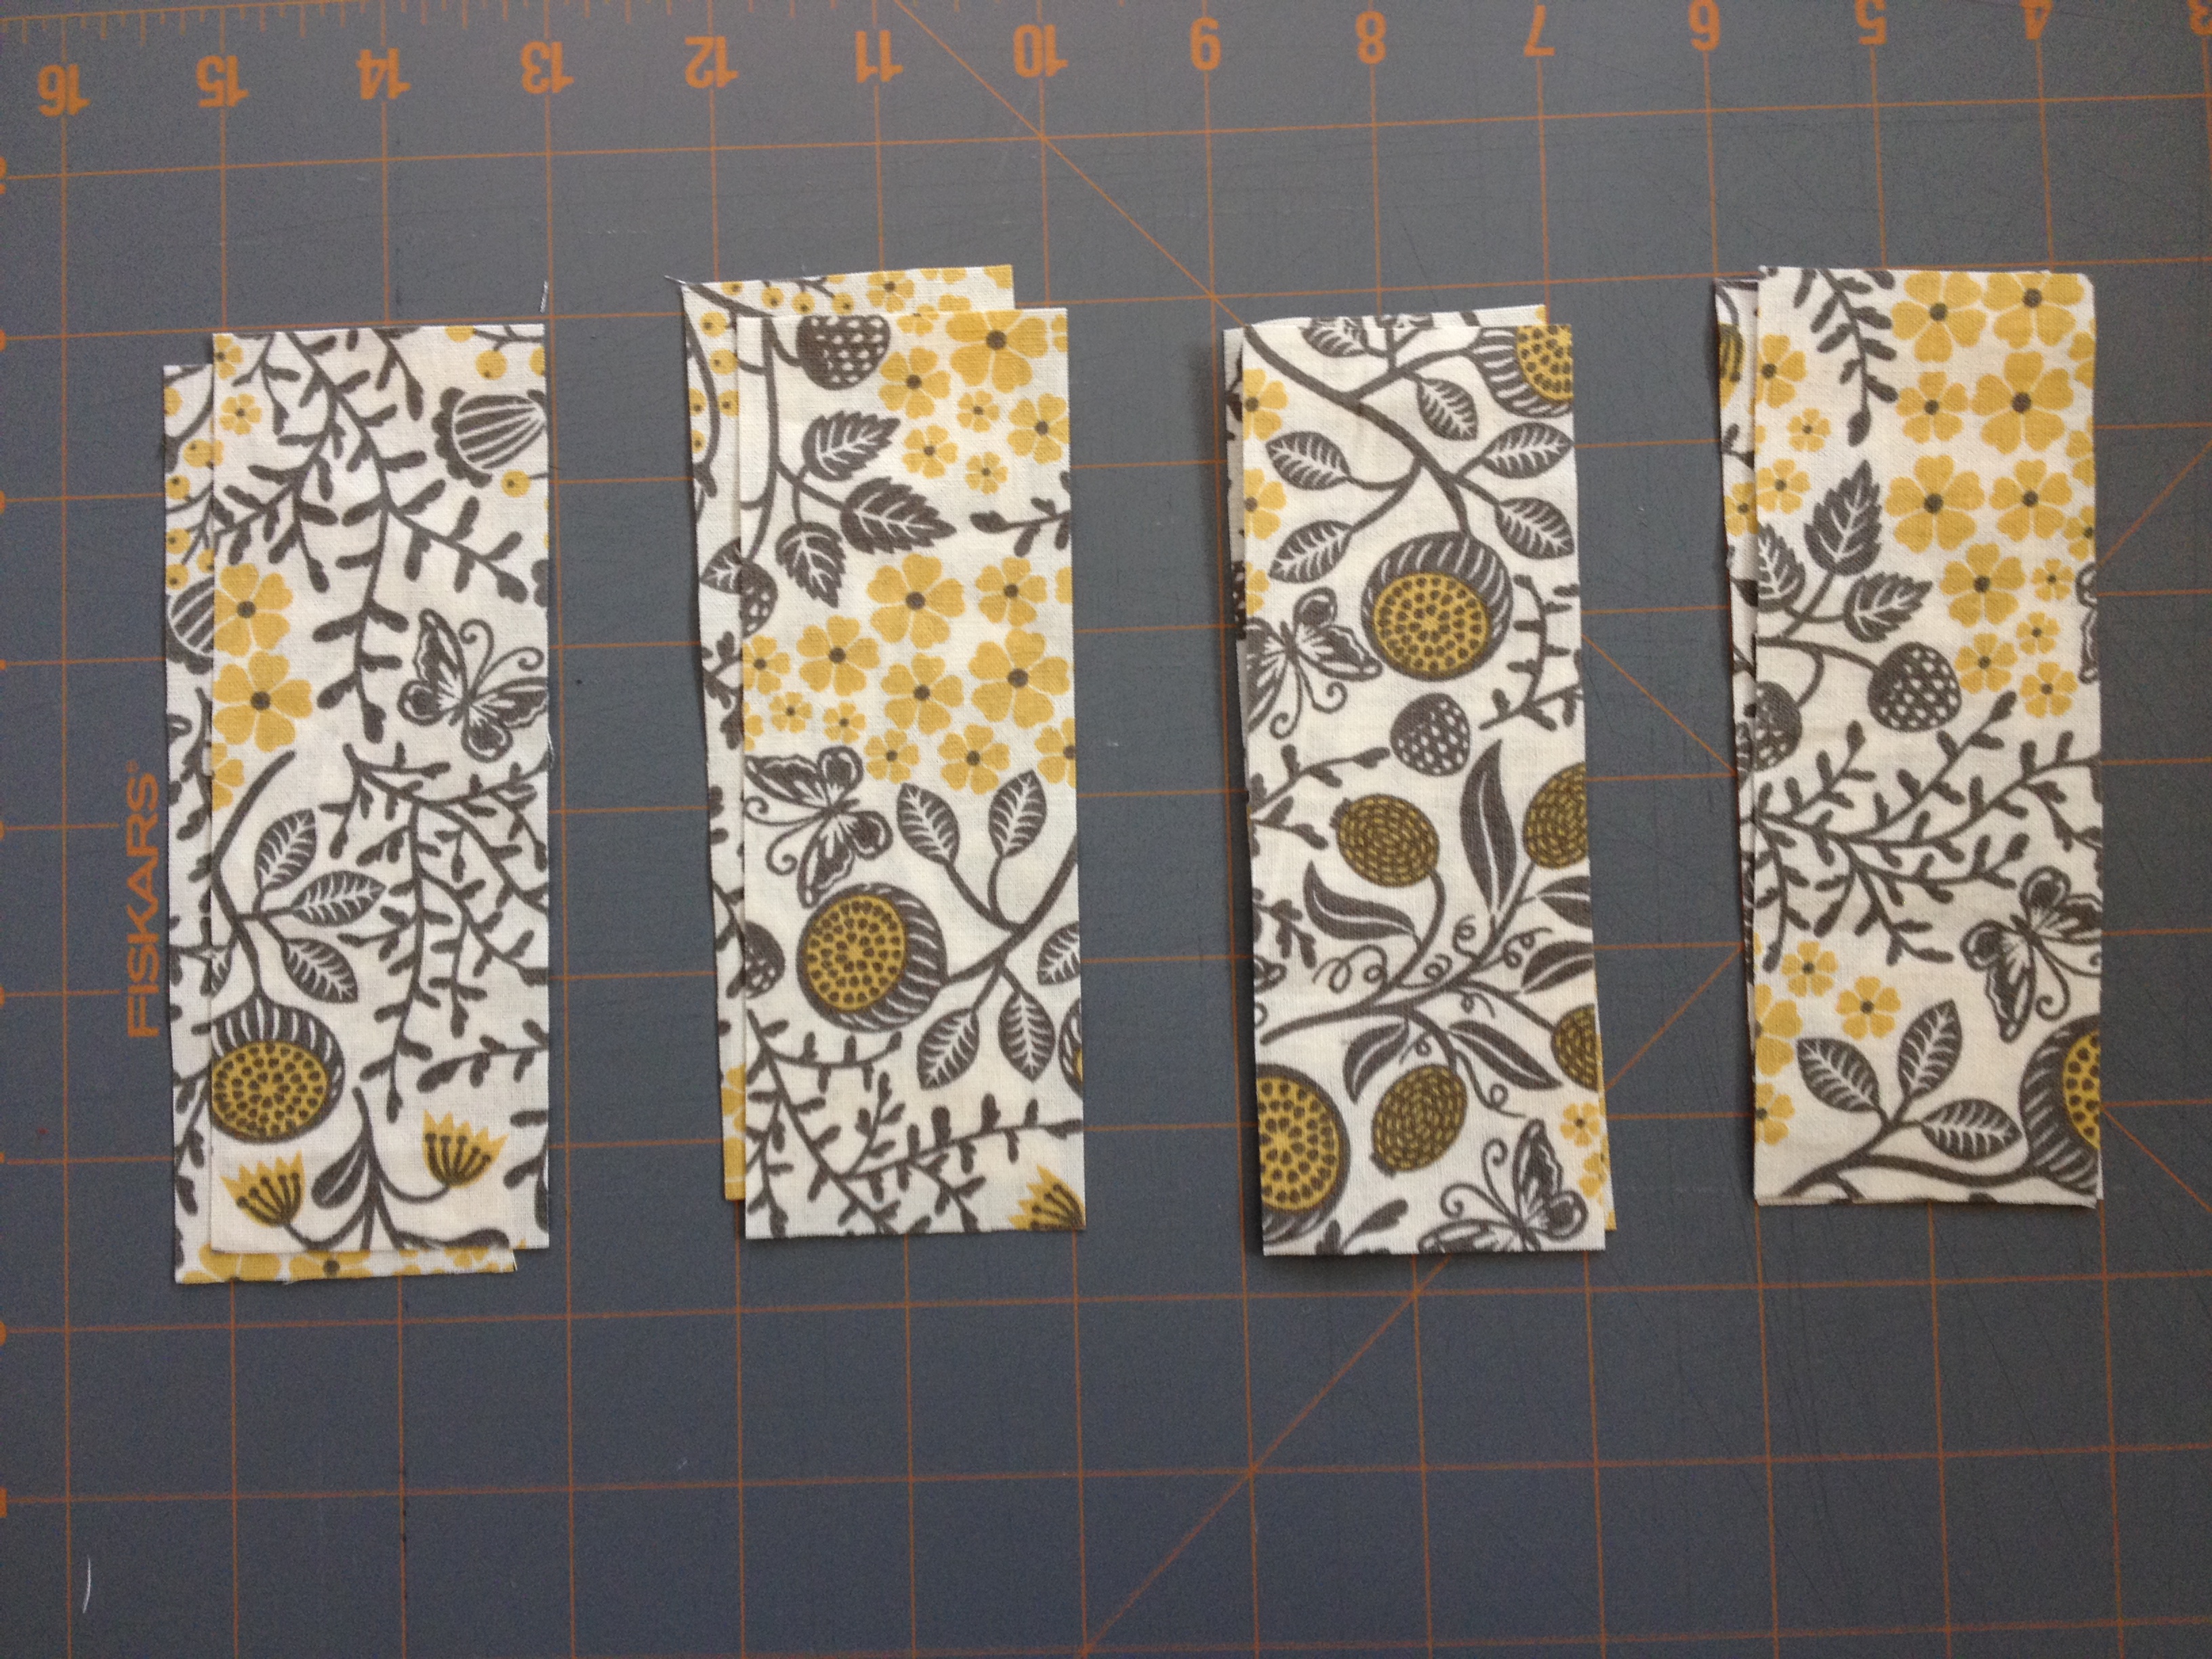 Step 4: Cut and Iron on Fusible Interfacing We wanted our tops to feel a bit thicker so we cut pieces of fusible interfacing to stiffen them a bit. Cut the interfacing and iron it on to half of your pieces as pictured below.
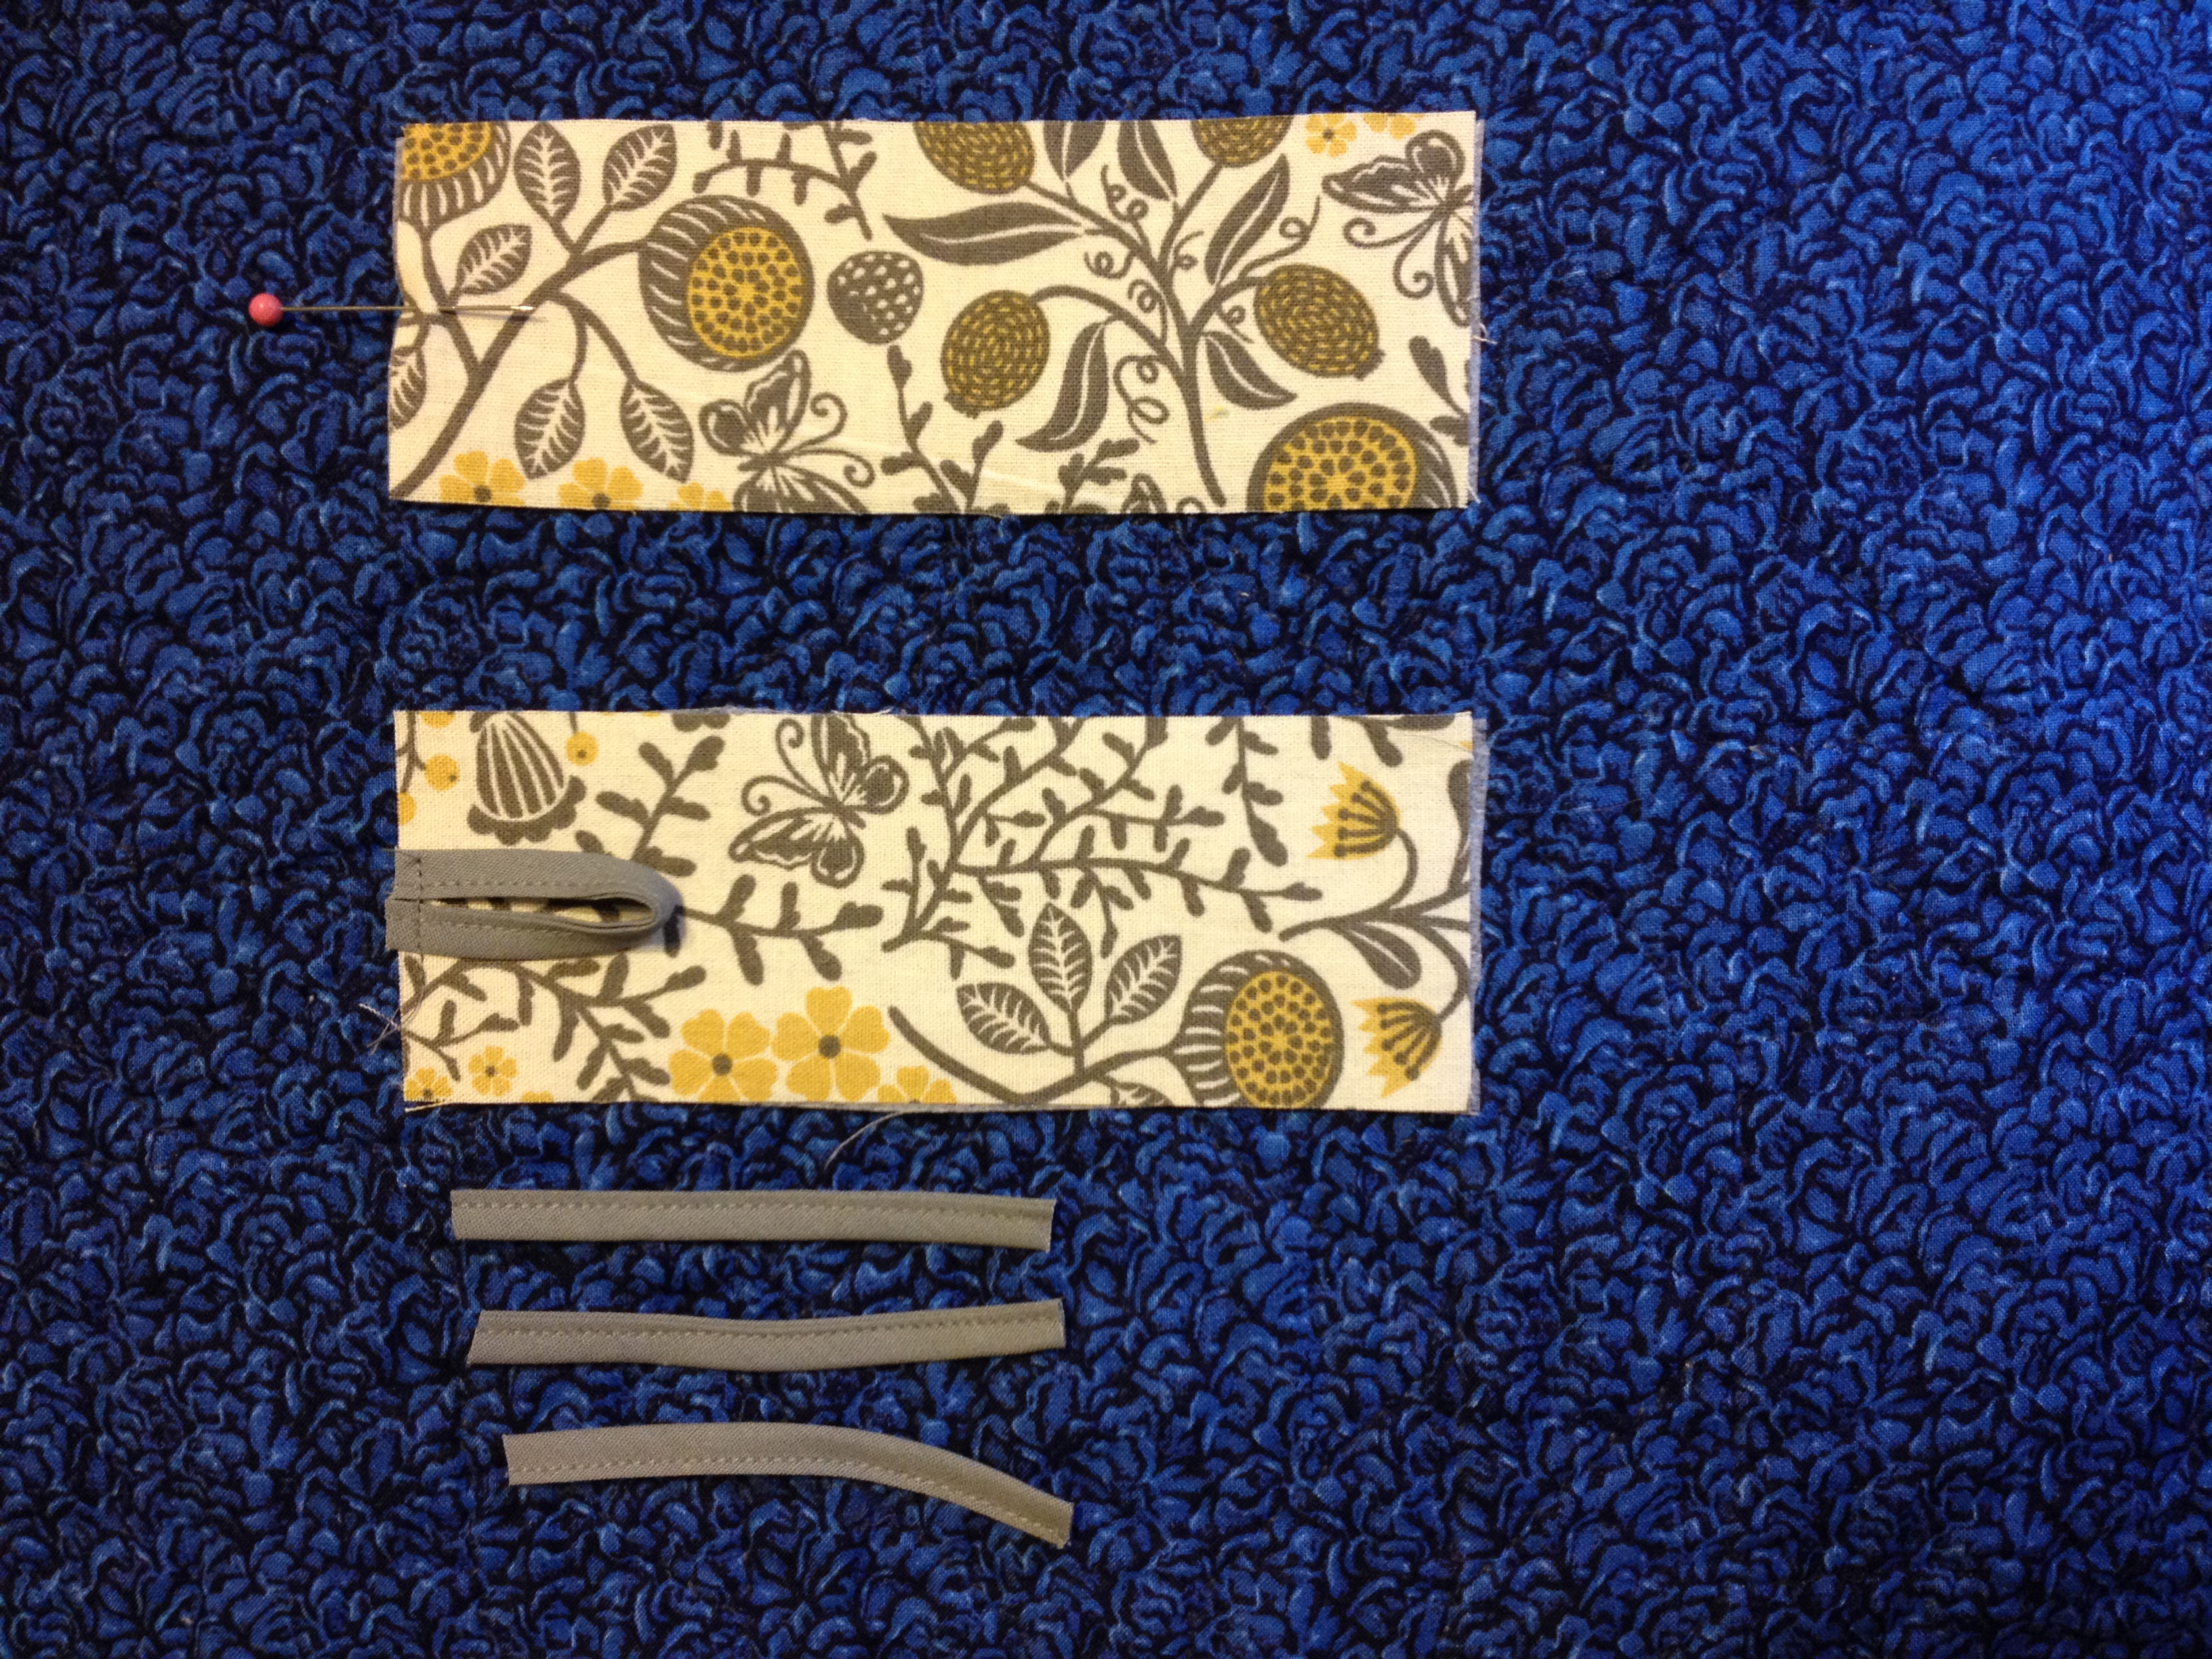
Step 5: Construct the Straps We sewed sections of quilter’s bias tape to make button loops. My original set of towels had button holes, but we weren’t feeling that adventurous. We also made one set with snaps before discovering the bias loop idea. Center the loops and pin them in place before sewing the two sides of the strap together. Straps were sewn on three sides, the corners were trimmed, and we used our fancy tool–a letter opener from a bank that is no longer in existence–to push our straps right side out and get the corners square. Finish by ironing them flat/square.
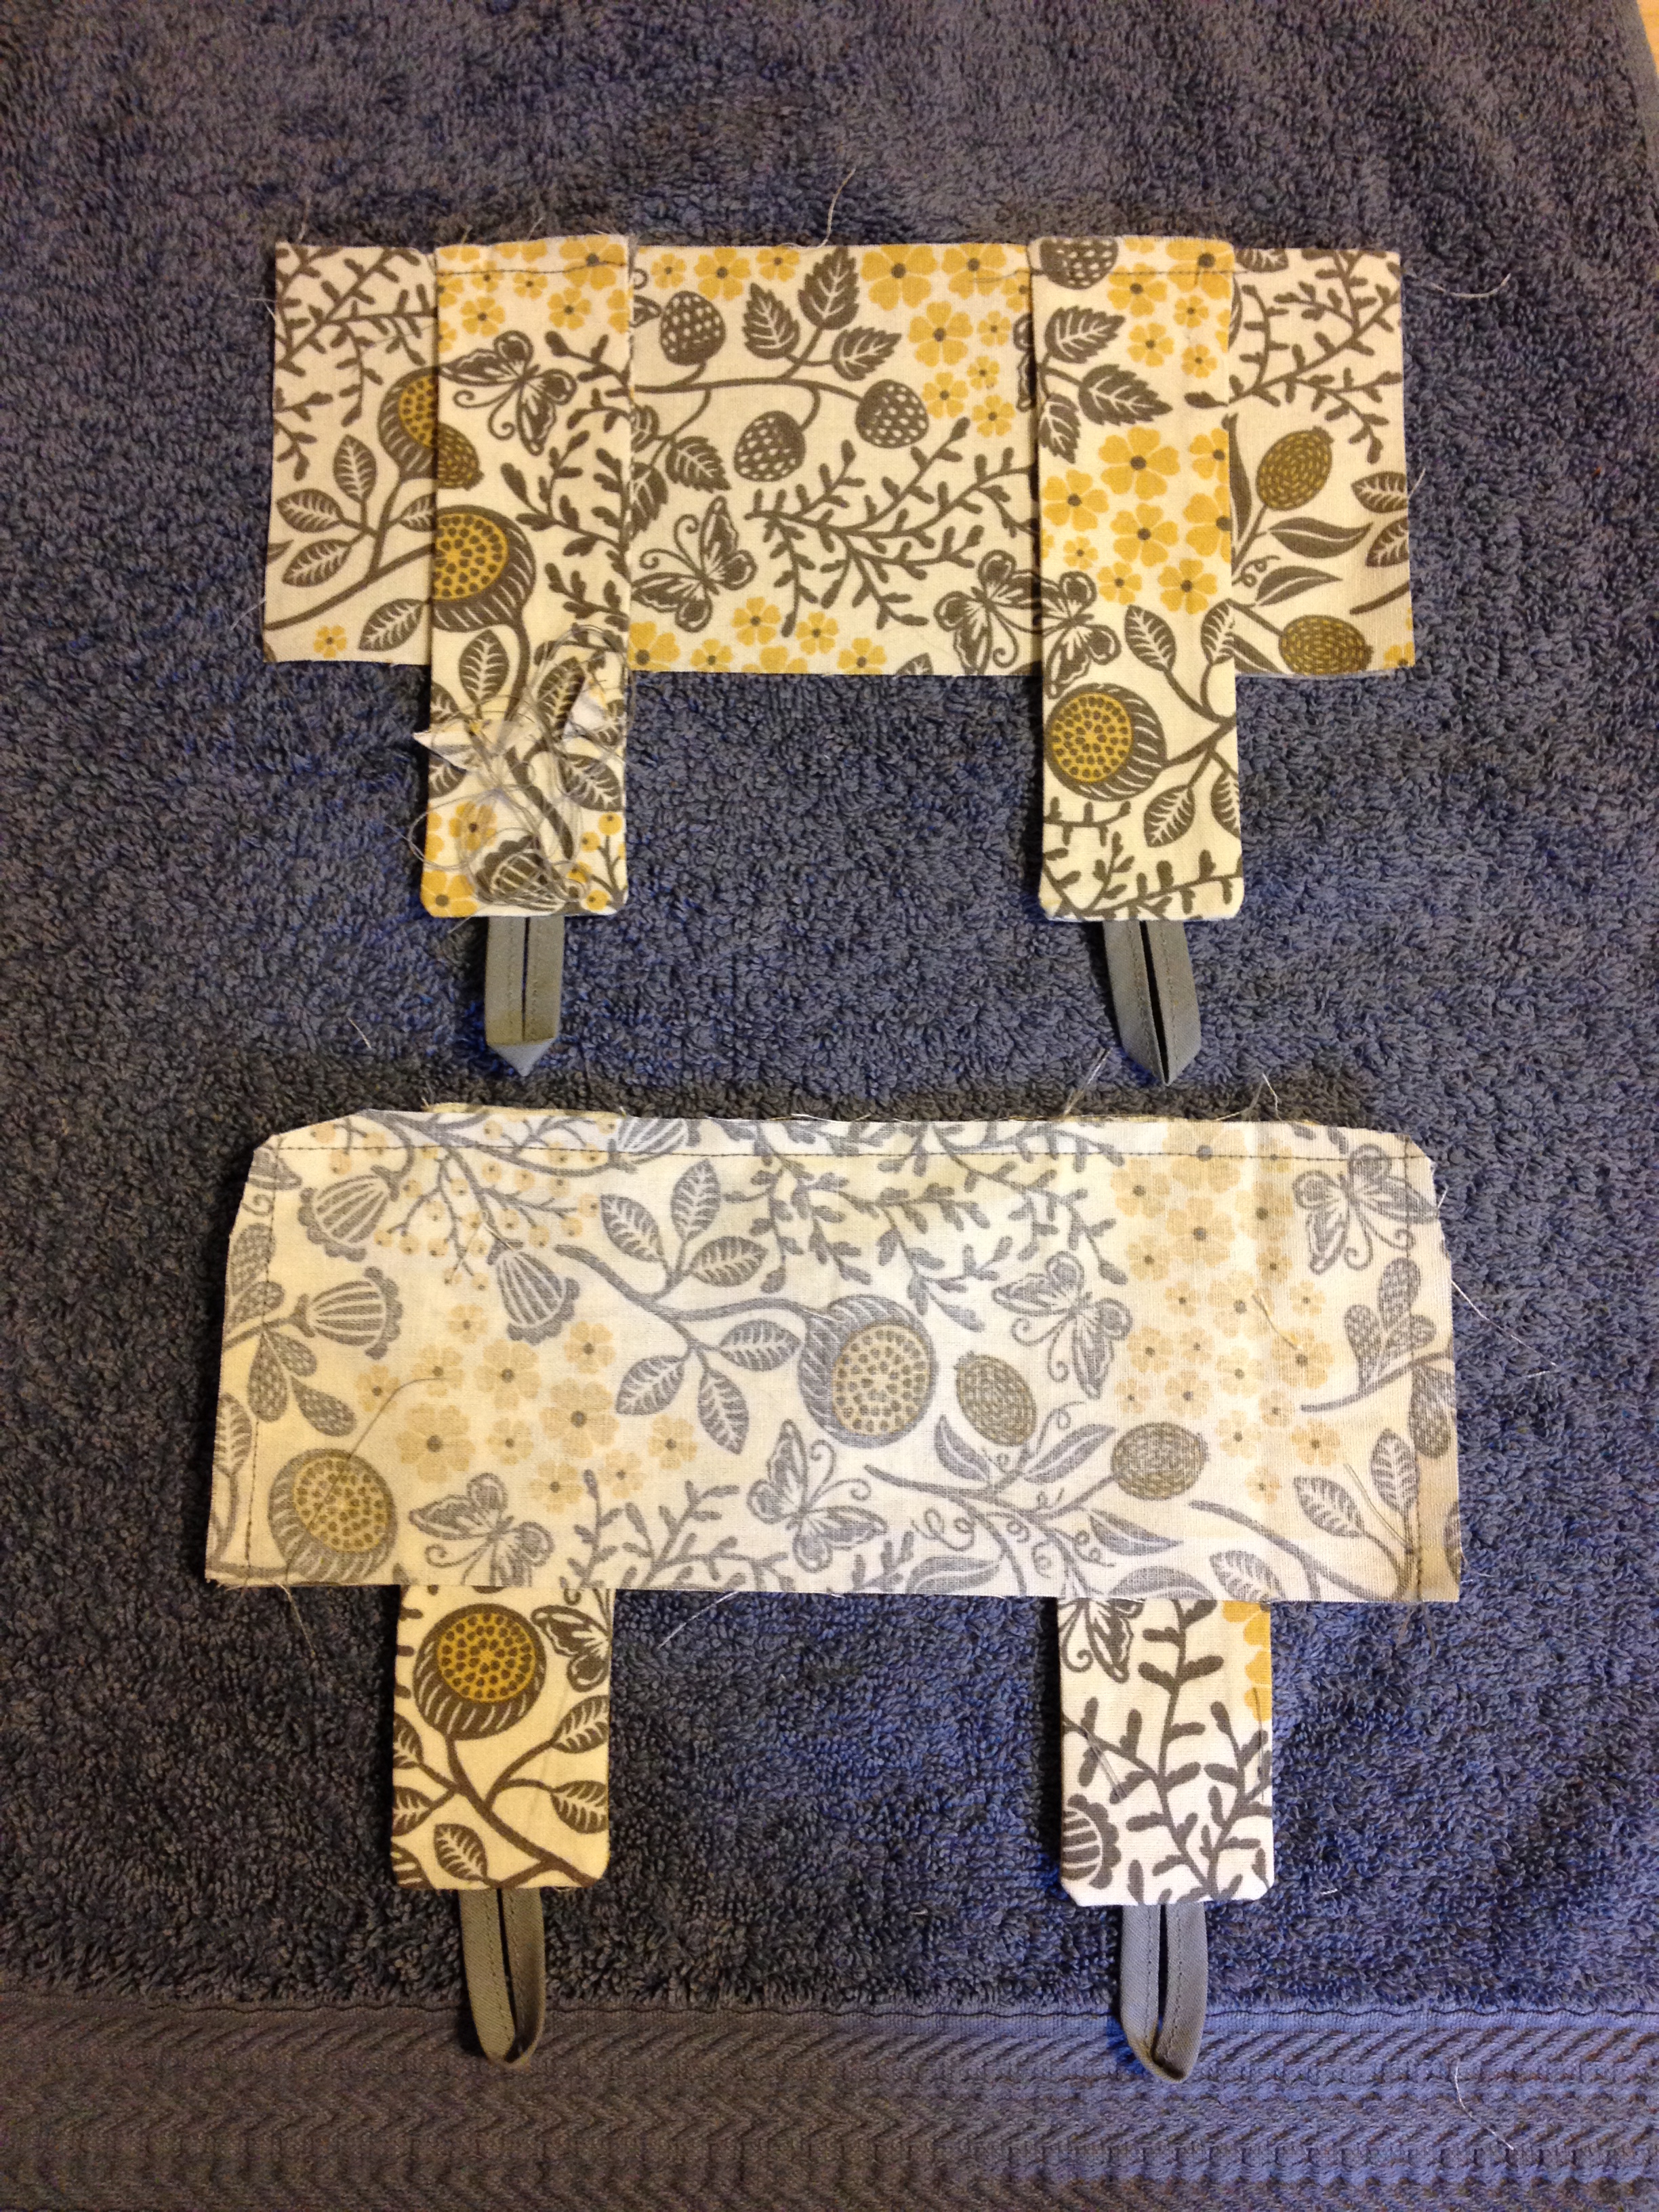
Step 6: Sew the Straps Into the Tops My mom tacked the straps in first, but I suppose you could pin them in and sew the whole thing at once. Either way you want to end up with three sewn sides with your straps sewn in between as shown in the picture. Again trim the corners to make them less bulky when you turn the fabric right side out.
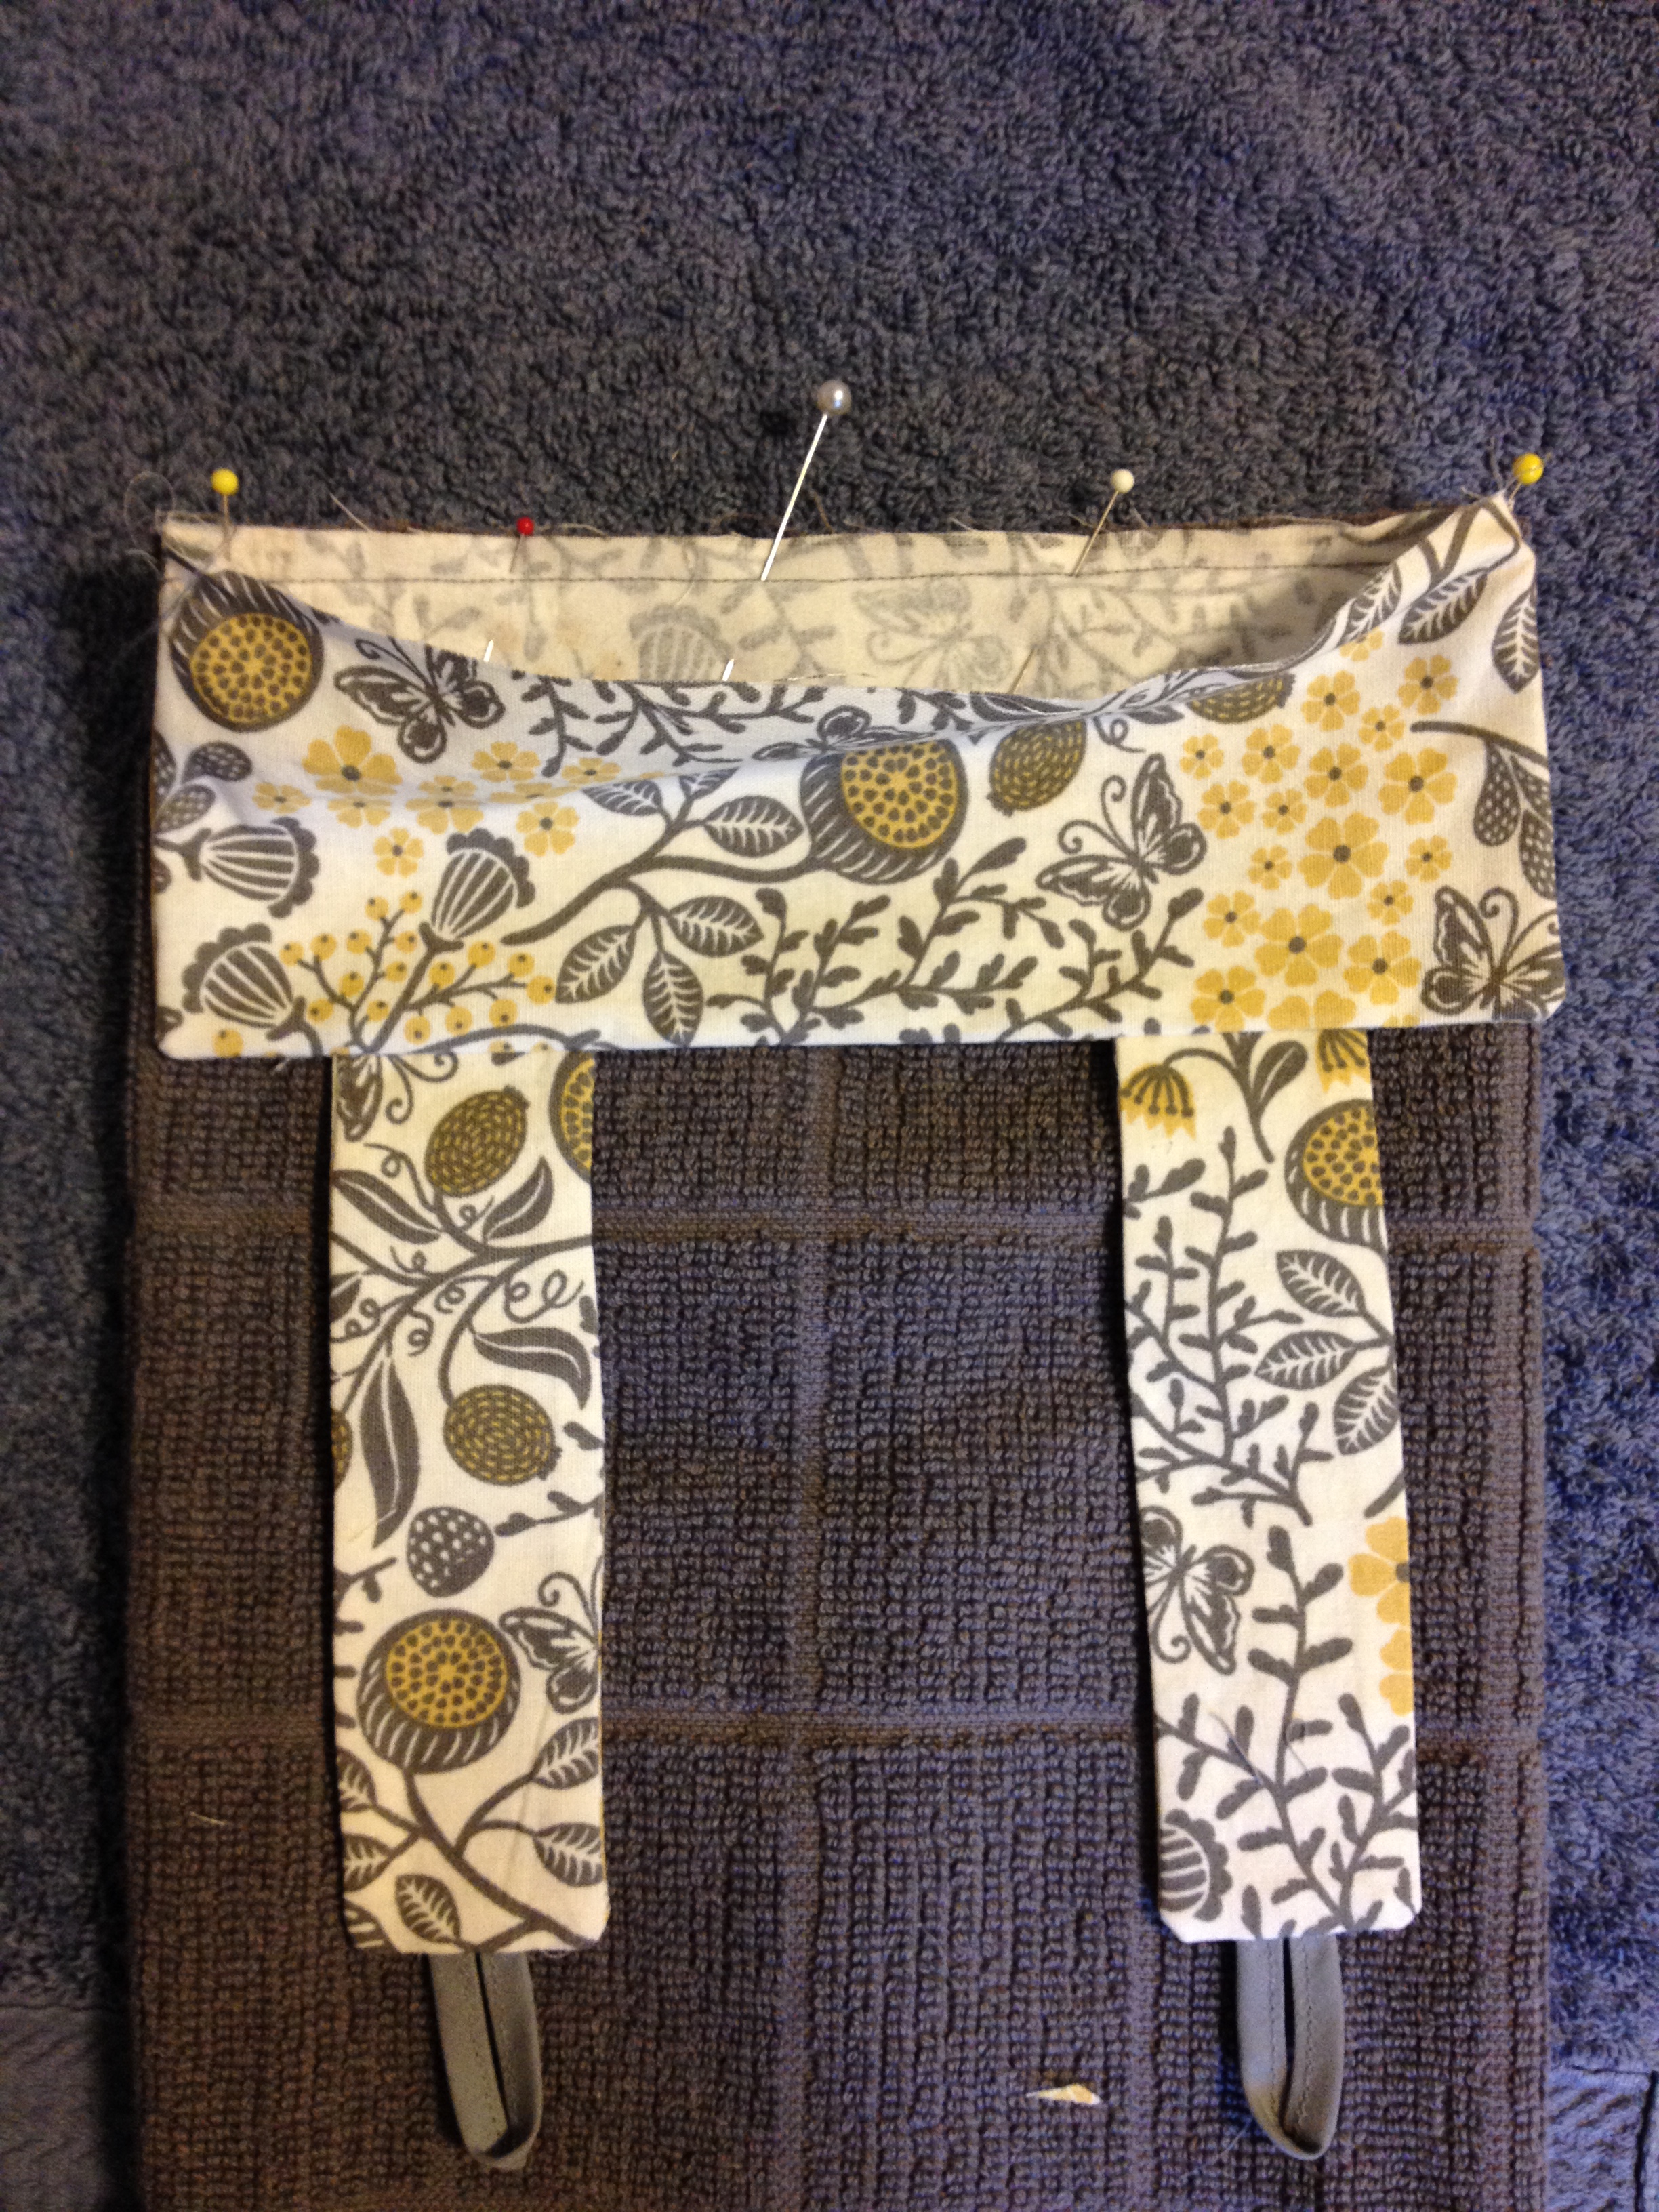
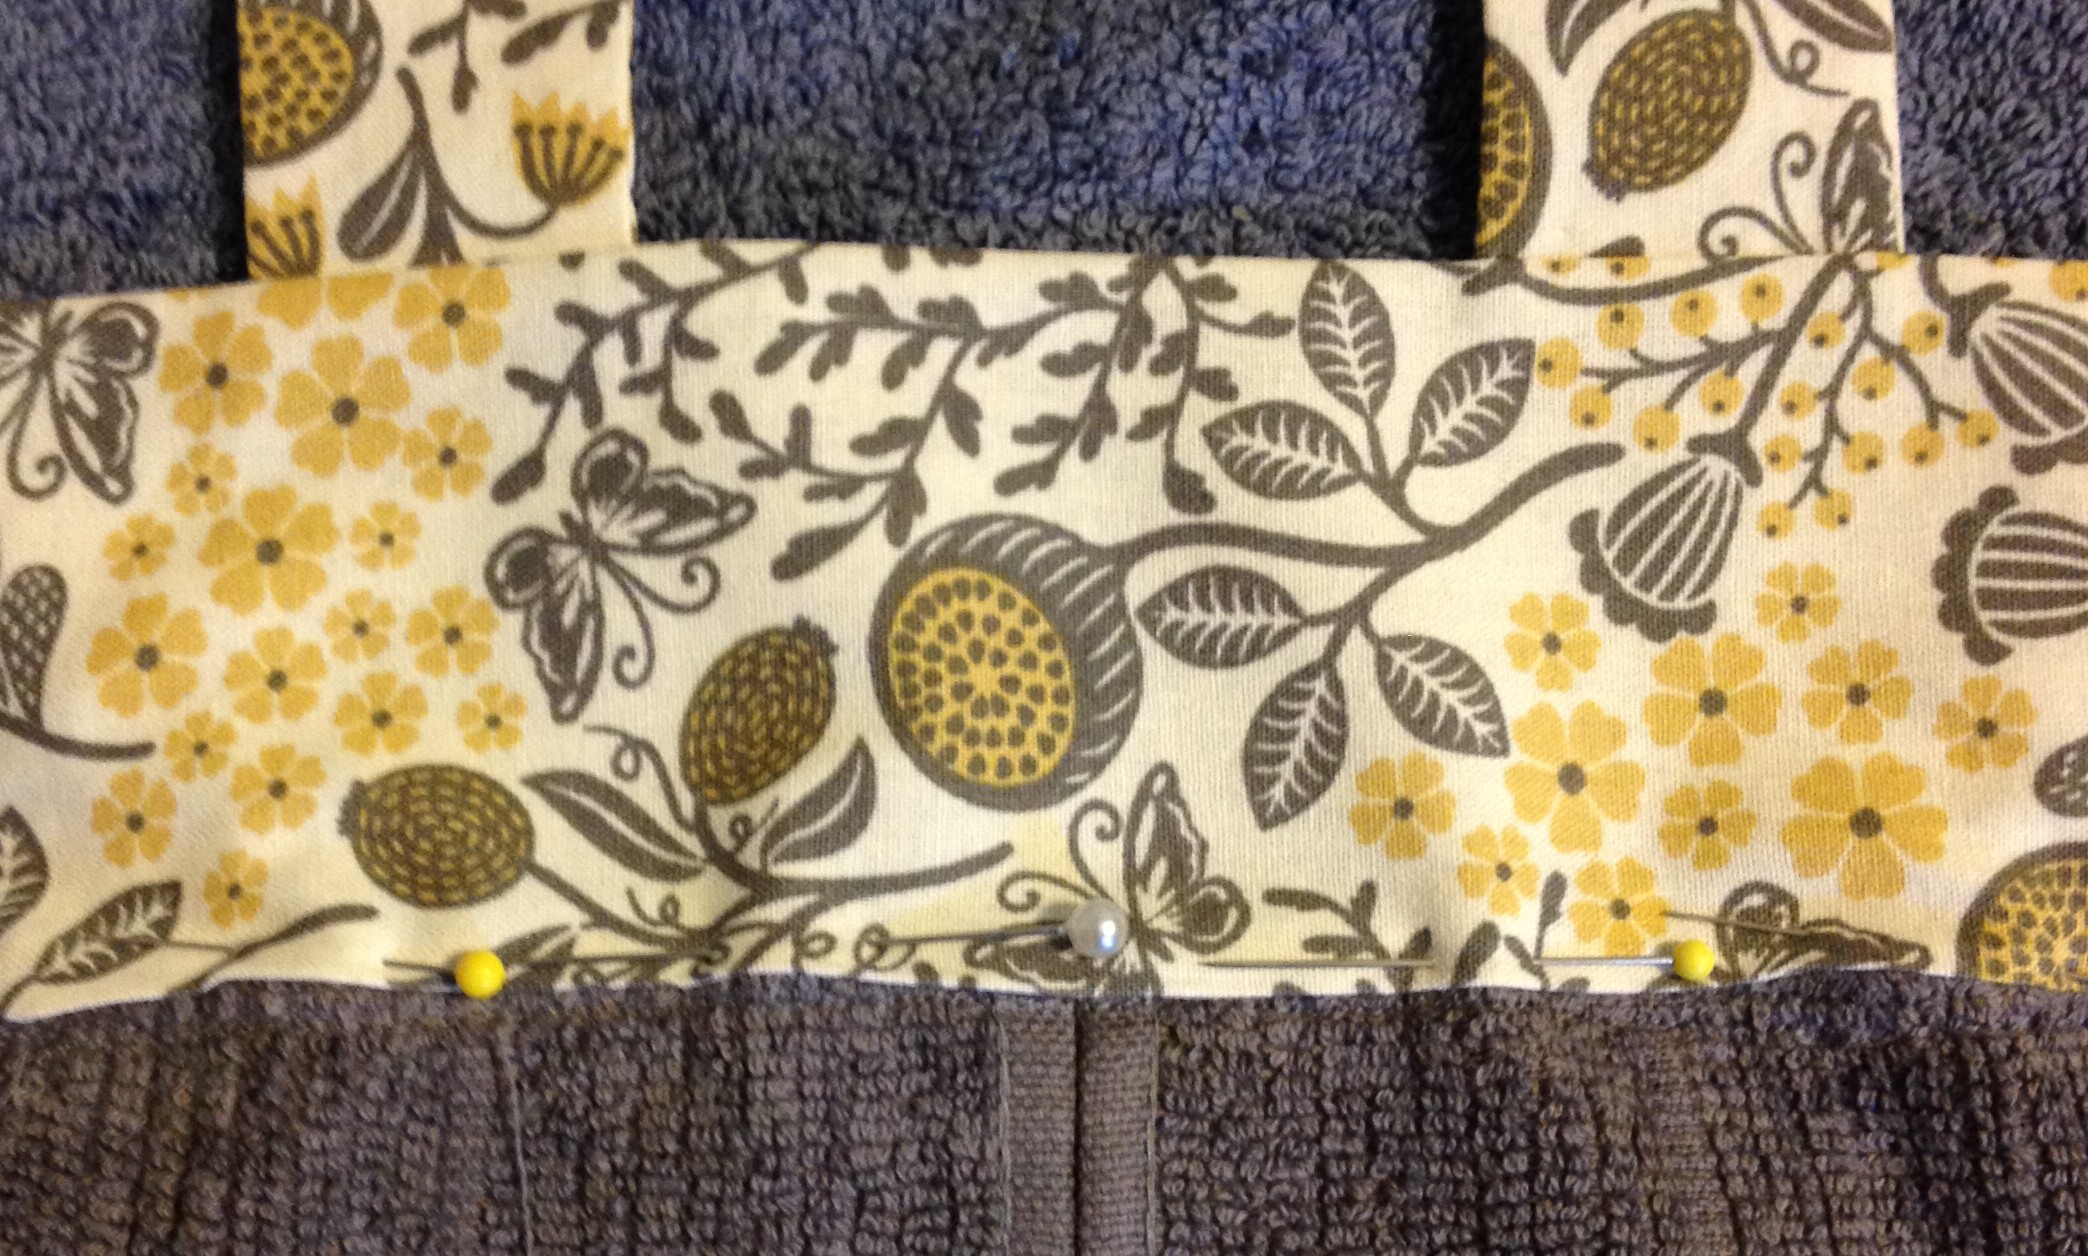
 Step 7: Prep and Pin Turn the straps right side out and use a hot iron to press everything flat and square. Fold your dish towel as shown below and sew along the cut edge to hold it in place. Pin the tops onto the towels as shown and machine sew one edge.
Step 8: Pin and Sew Backs We chose to sew the back side of the towel tops on by hand. Turn the fabric under 1/4″ and pin it in place before hand-stitching.
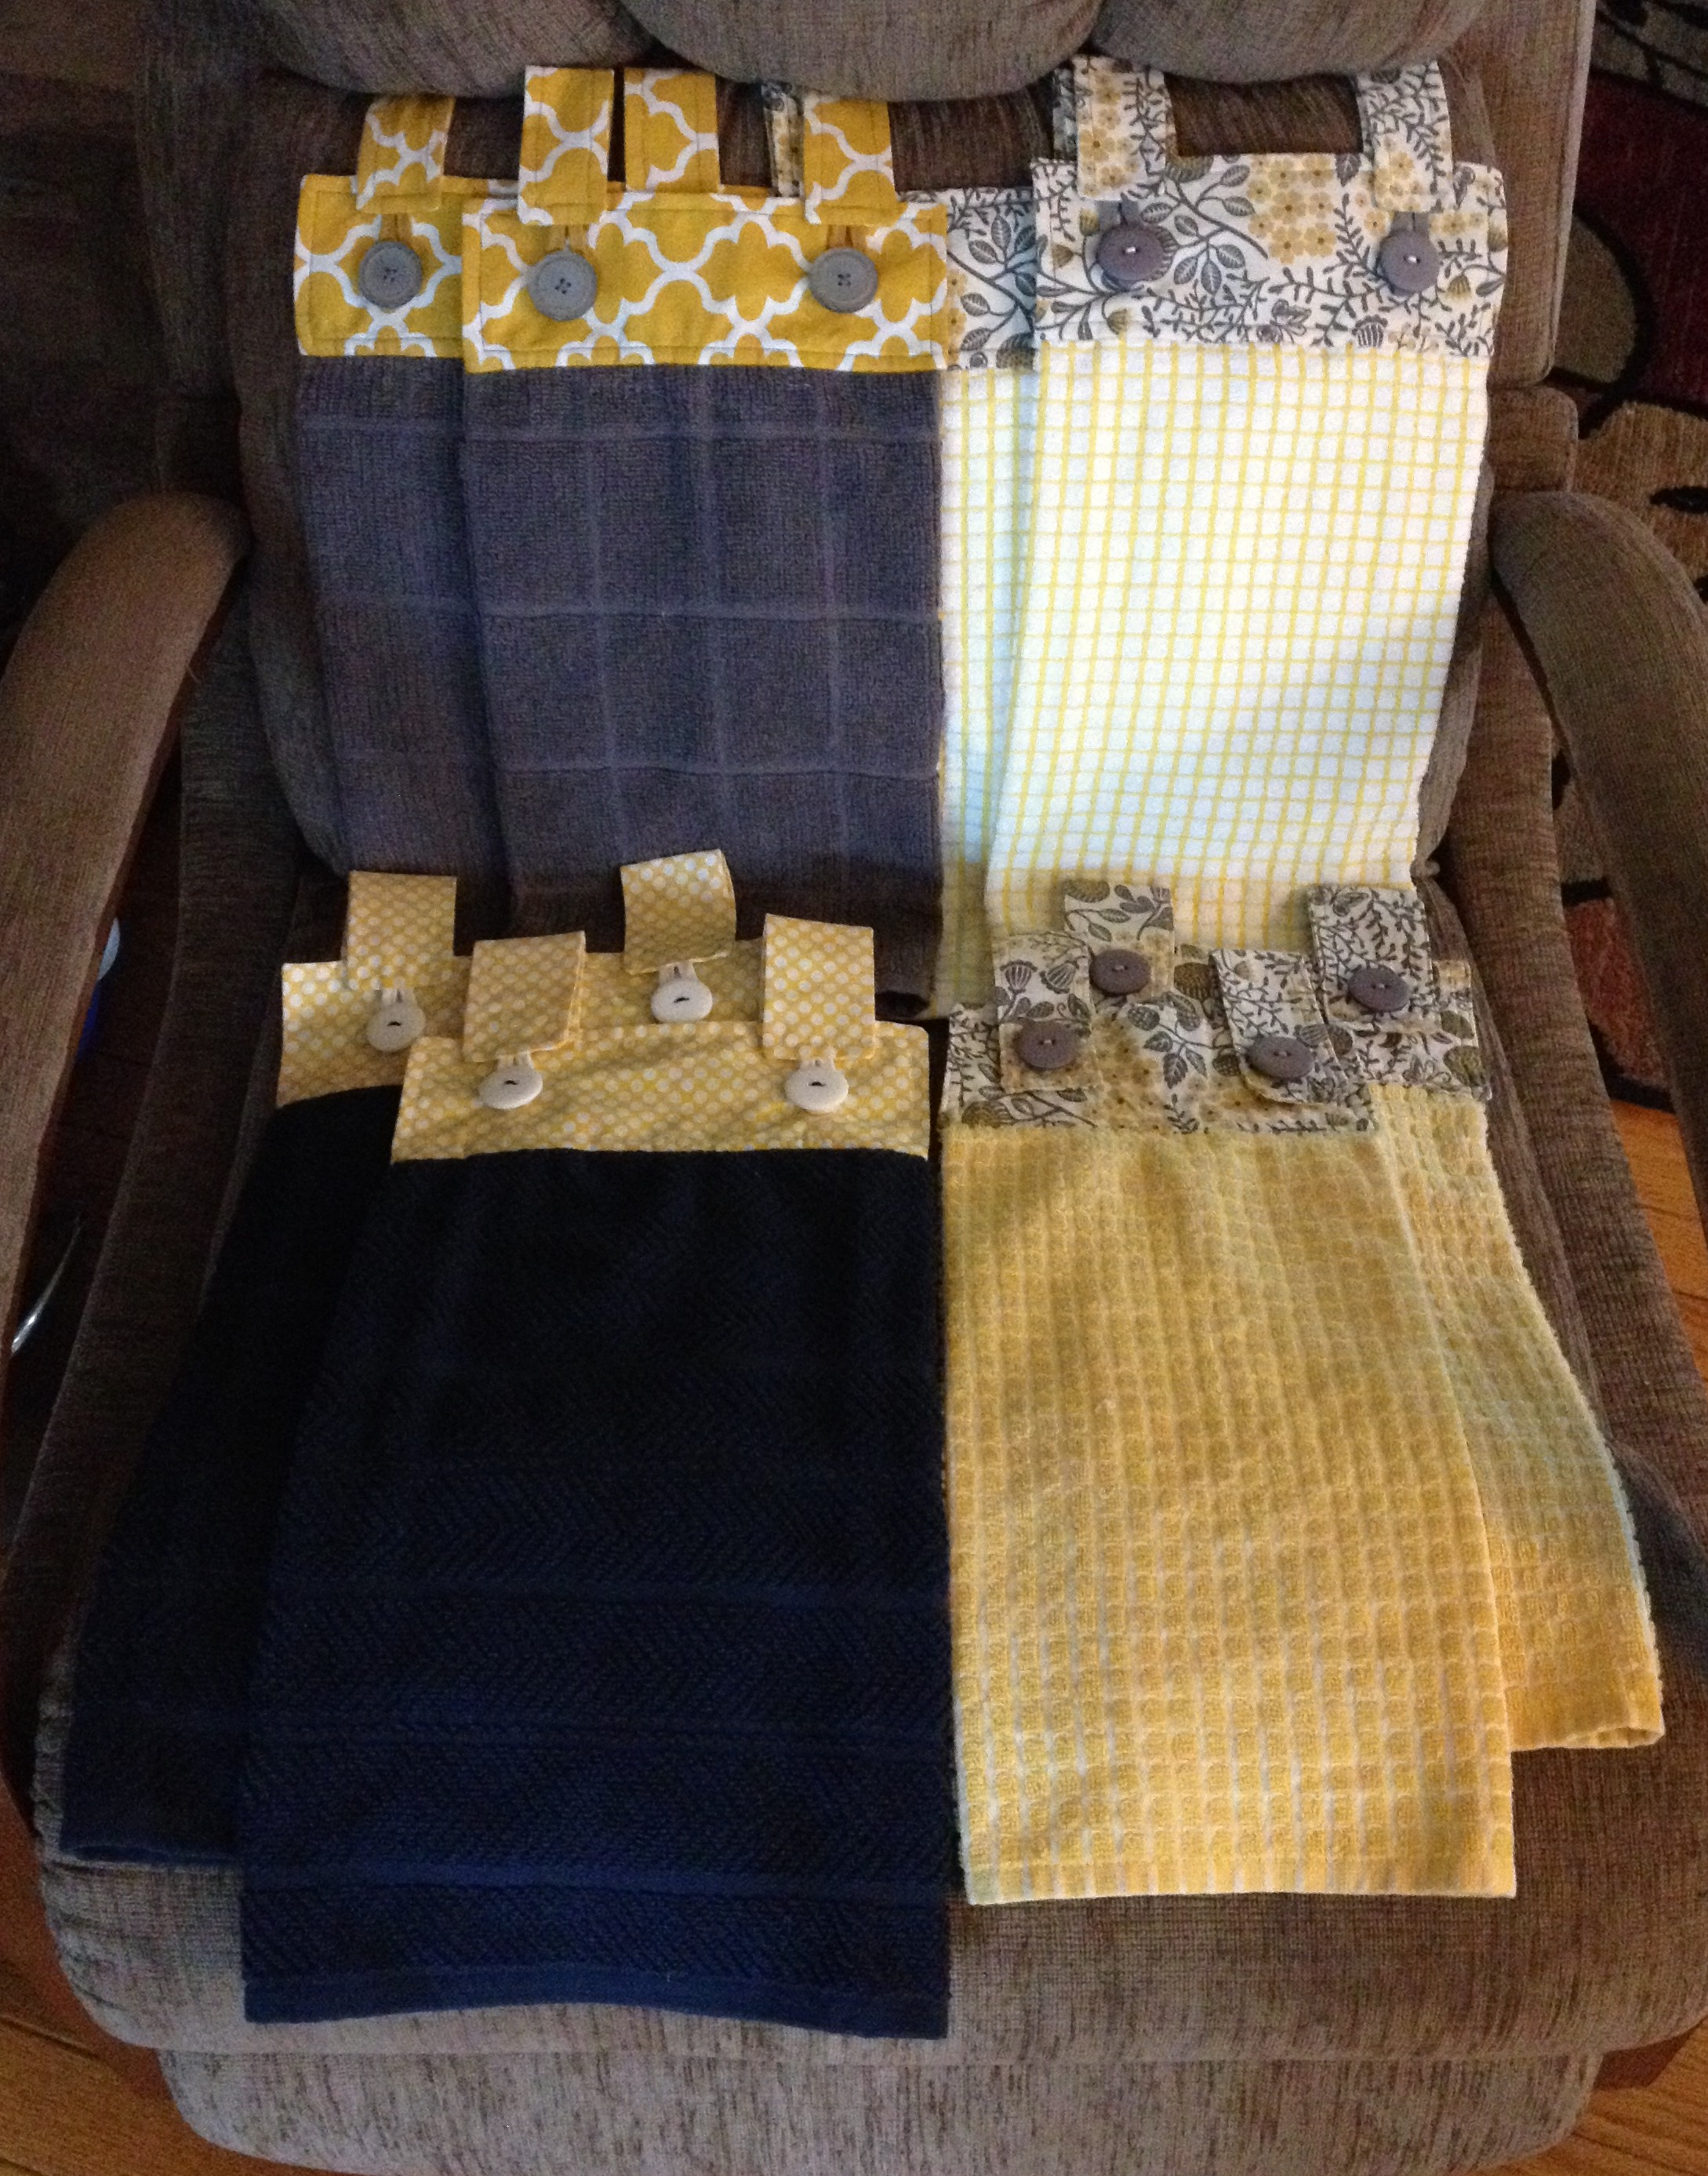
Step 9: Top Stitch and Attach Buttons I liked the look of the towels better when we machine-sewed a 1/4″ border around the straps and top edge in either a contrasting or matching thread. I then hand-sewed on the buttons (I just eyeballed their placement, but I suspect you could measure if you’re into that sort of thing). The button in the picture would be sewed on, except my toddler lost one of the 4 matching buttons I had left, so replacement buttons needed to be obtained and I just wasn’t that patient. 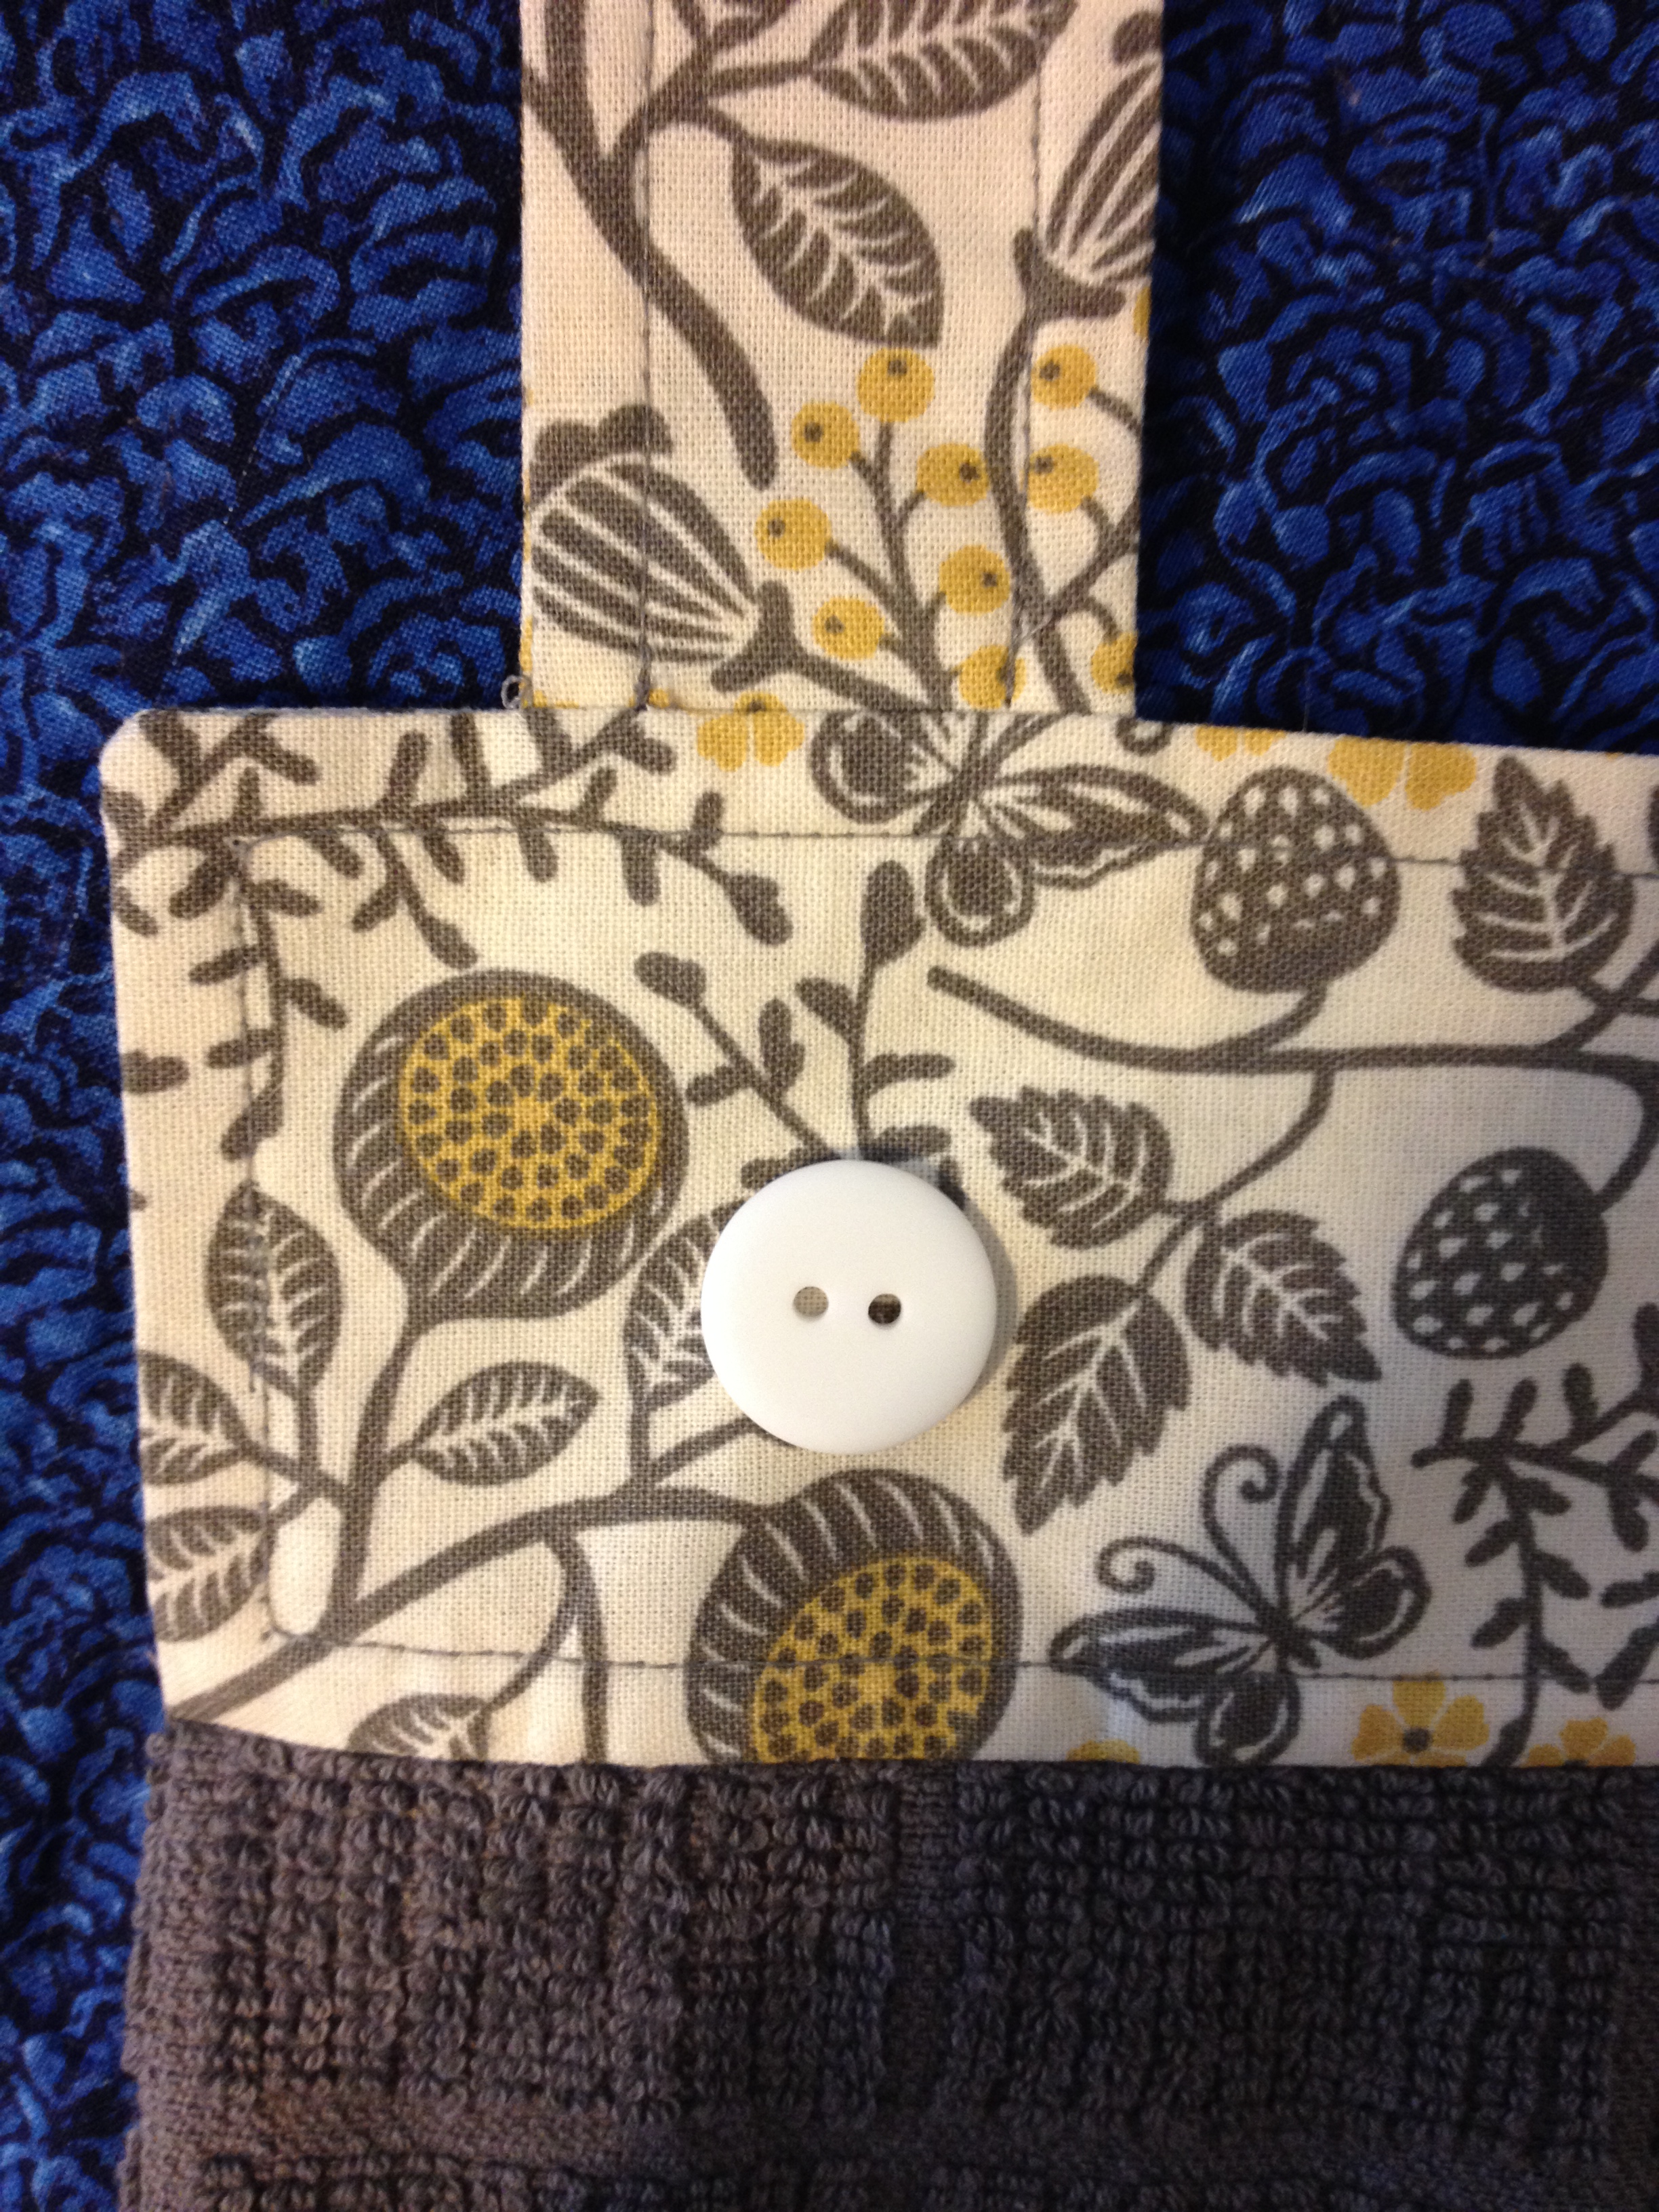
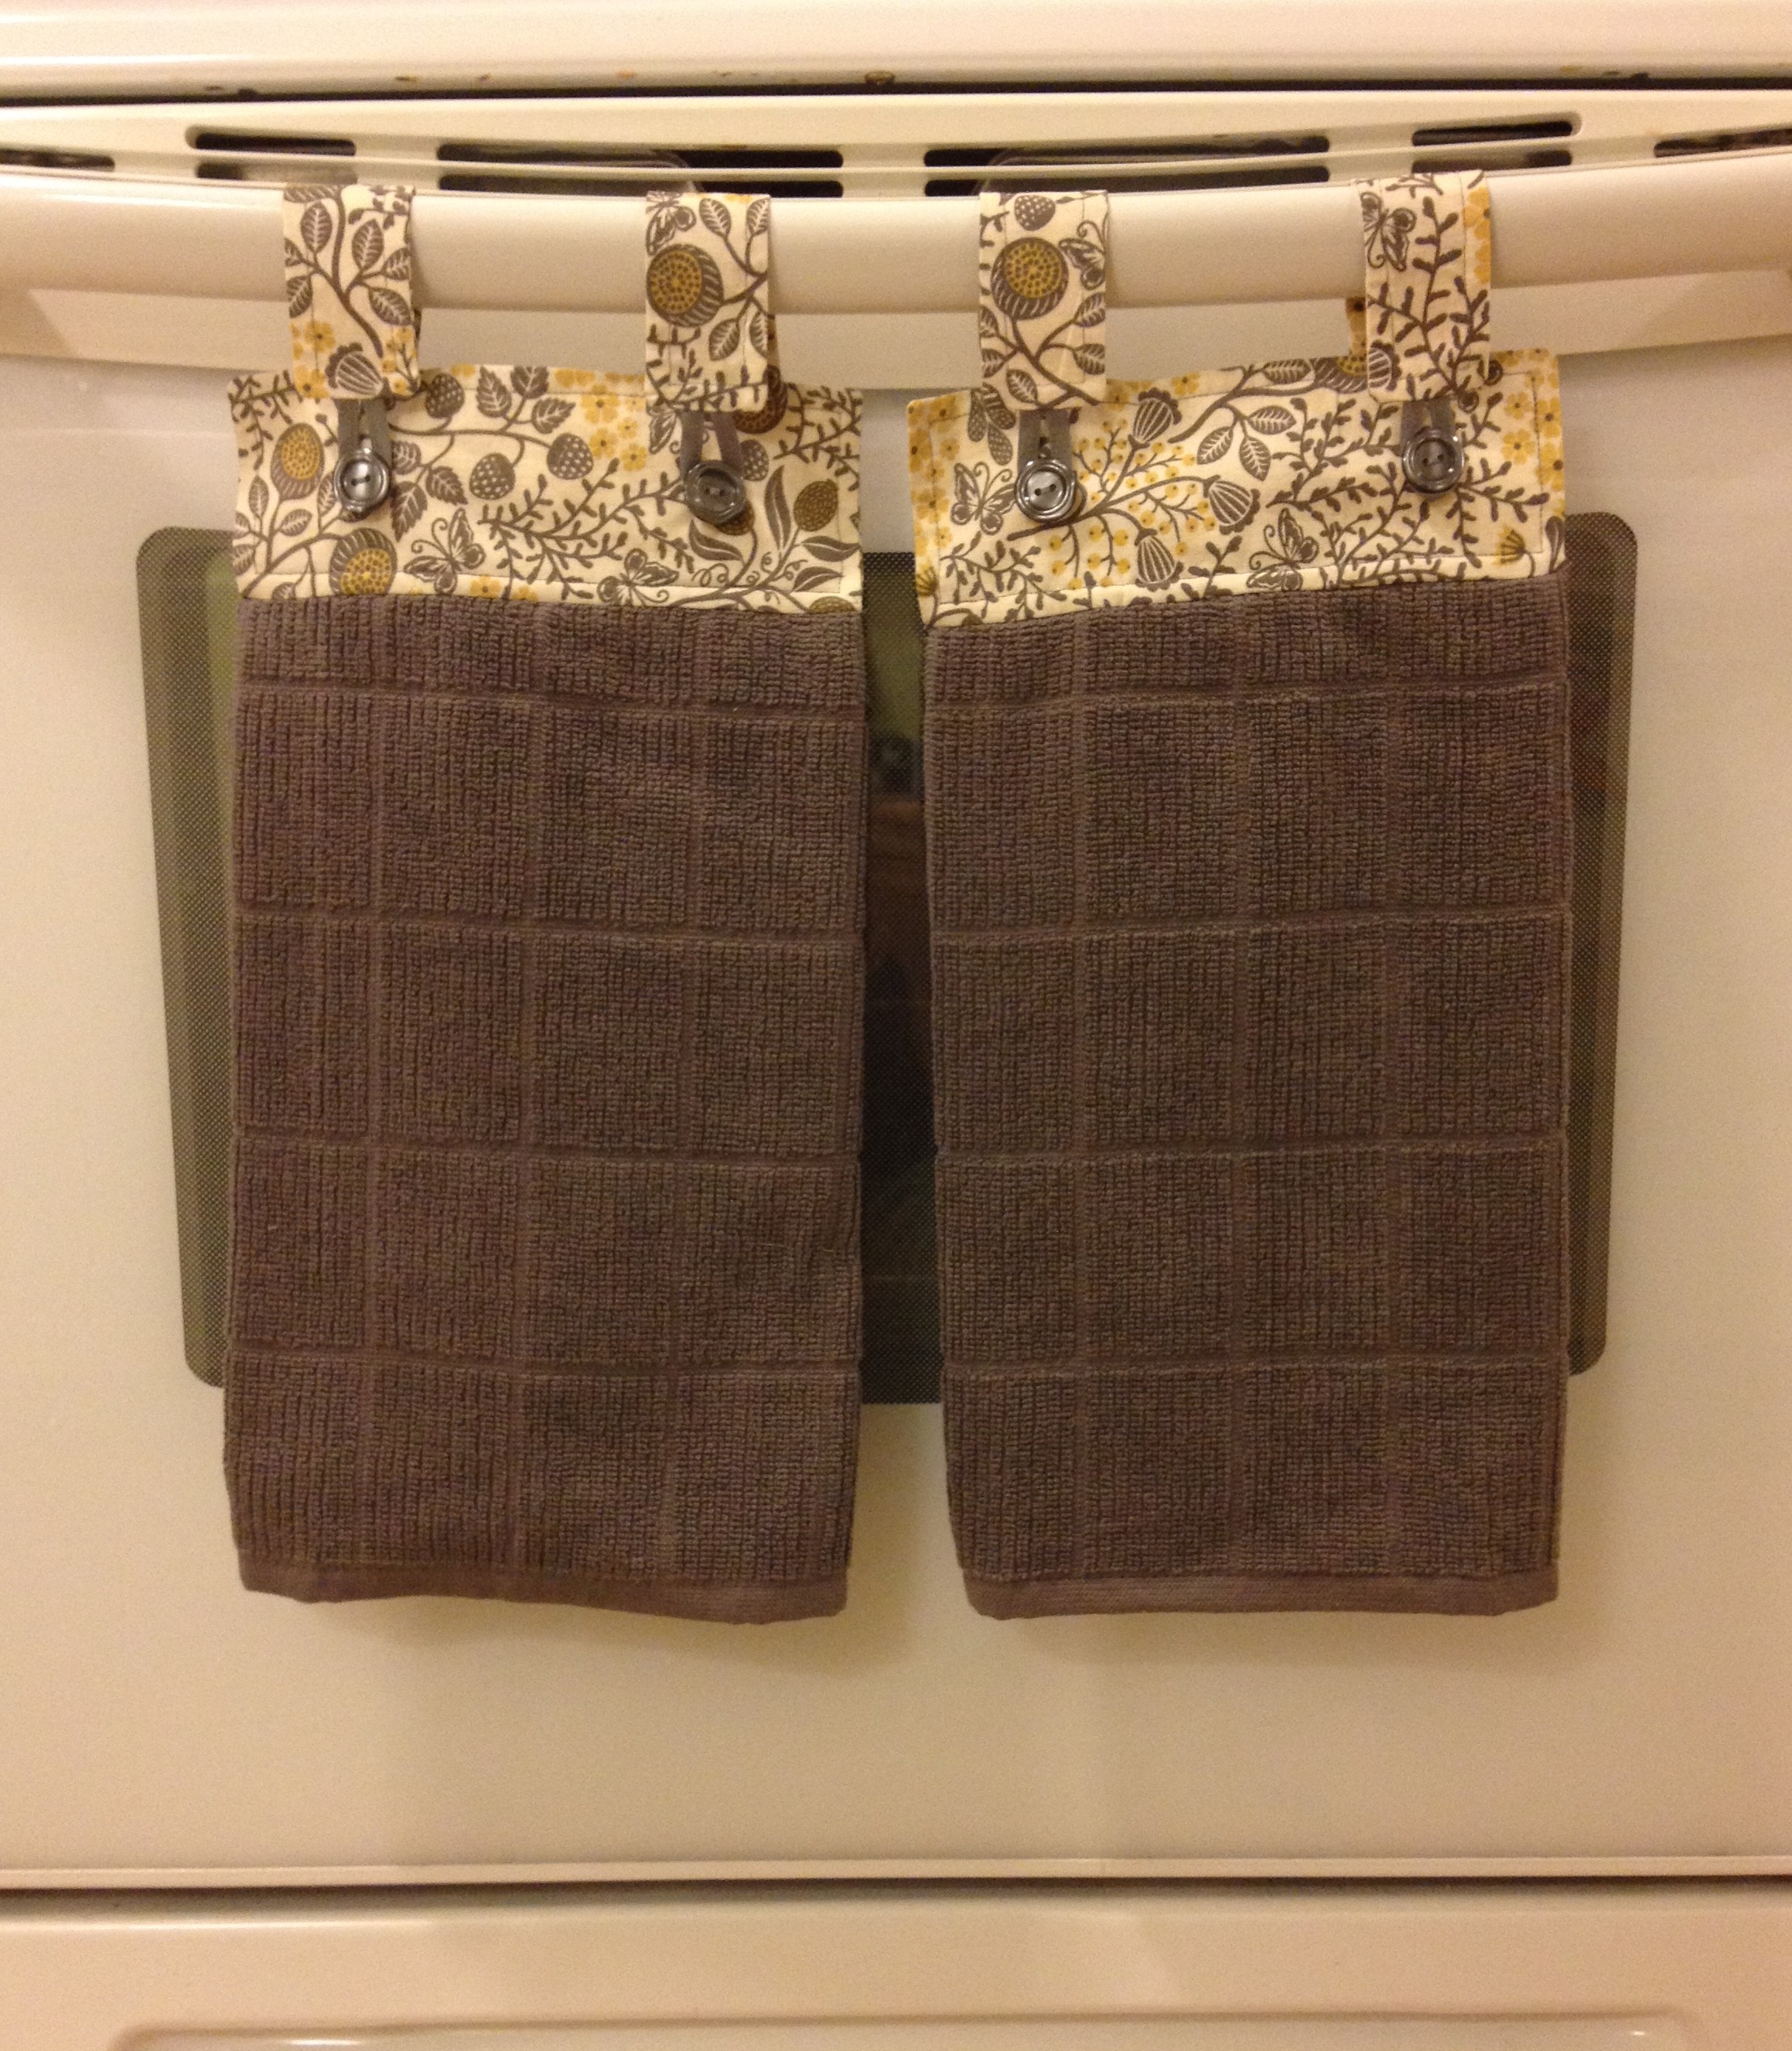
Voila! Towels!